
Featured articles
More from the category

In modern heating systems, hydronic floor heating offers efficient and comfortable warmth. Among its key features, zoned temperature control allows for personalized comfort and energy savings. This article will detail the process of achieving zoned temperature control with a hydronic floor heating thermostat, structured clearly for easy understanding.
Understanding the Basics of Zoning
The first step is to divide the building into different zones. Each zone corresponds to an area with similar heating requirements, such as individual rooms, floors, or functional areas. For example, bedrooms, living rooms, and bathrooms can be set as separate zones. The number of zones depends on the building layout and user needs. This division enables independent temperature adjustment for each area, ensuring that occupants can customize the warmth according to their preferences in different spaces.
Hardware Setup for Zoning
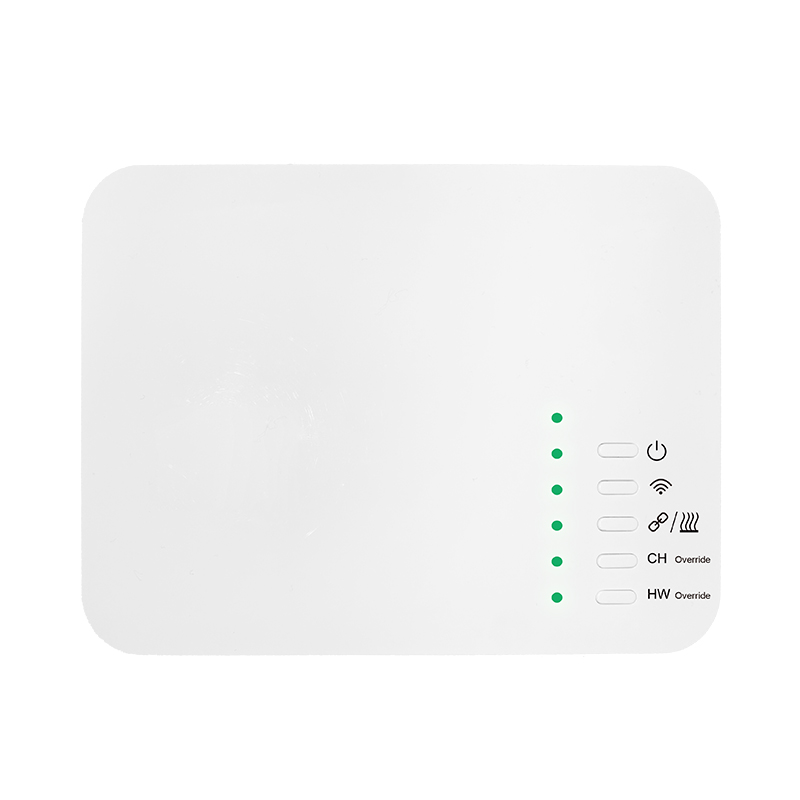
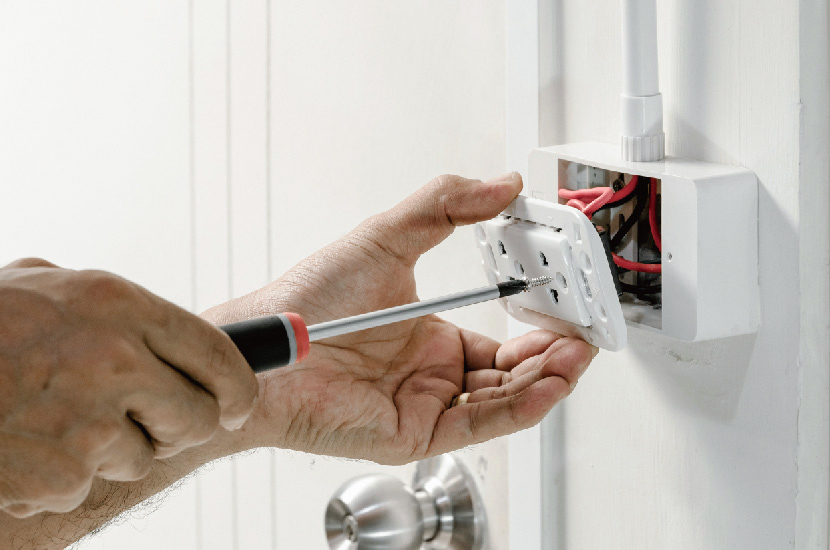
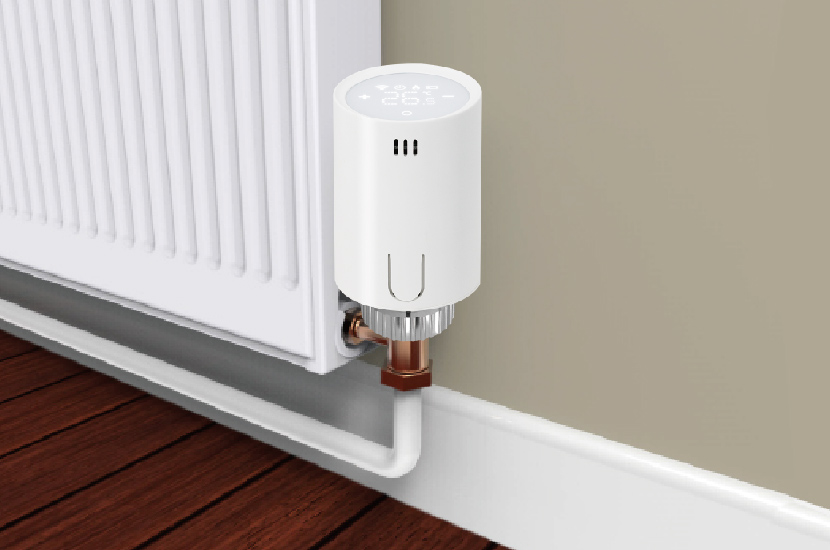
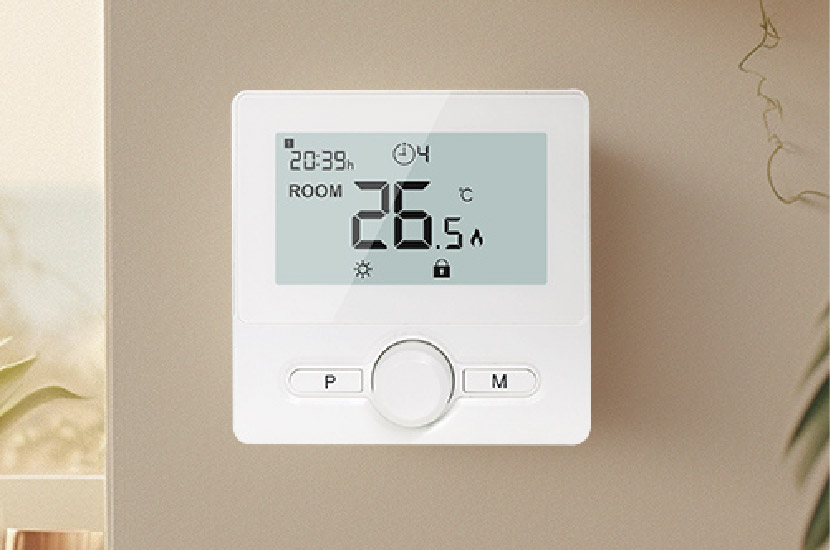
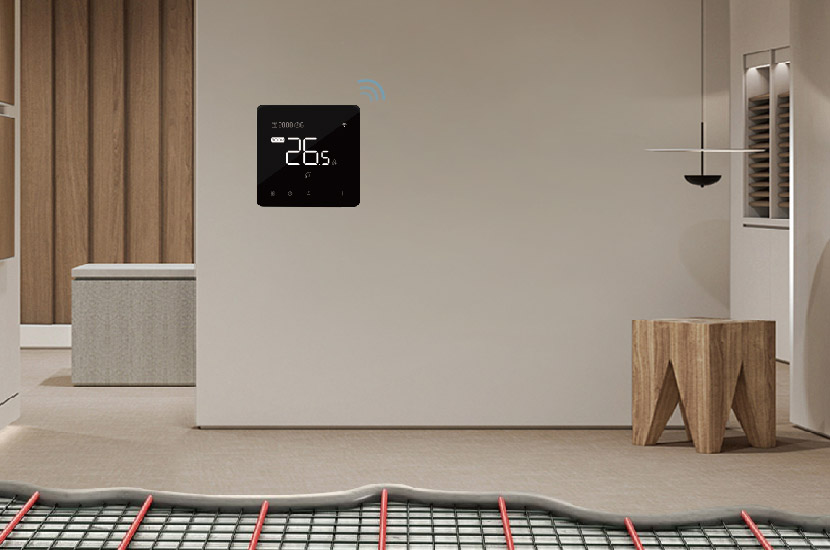
To implement zoned temperature control, specific hardware components are required. In addition to the main hydronic floor heating system, each zone needs its own thermostatic radiator valve or motorized zone valve. Thermostatic radiator valves use a thermal element to regulate water flow based on room temperature. Motorized zone valves, controlled by the thermostat, open and close to allow or stop the flow of hot water into the heating pipes of the corresponding zone. These valves are connected to the heating pipes, and the thermostats for each zone are installed at suitable indoor locations, preferably away from heat sources or drafts to accurately measure the ambient temperature.
Thermostat Configuration
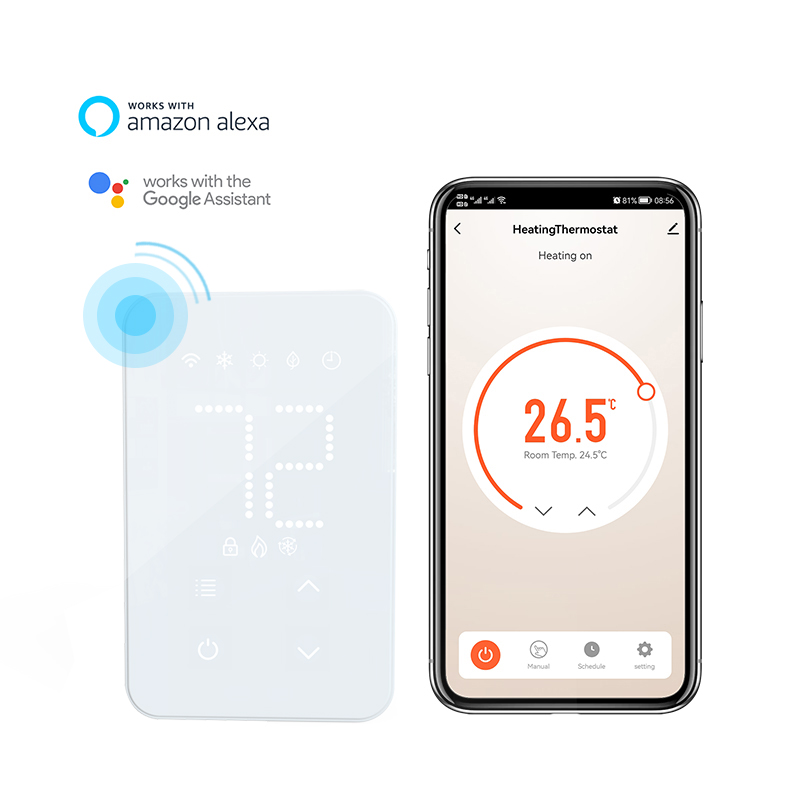
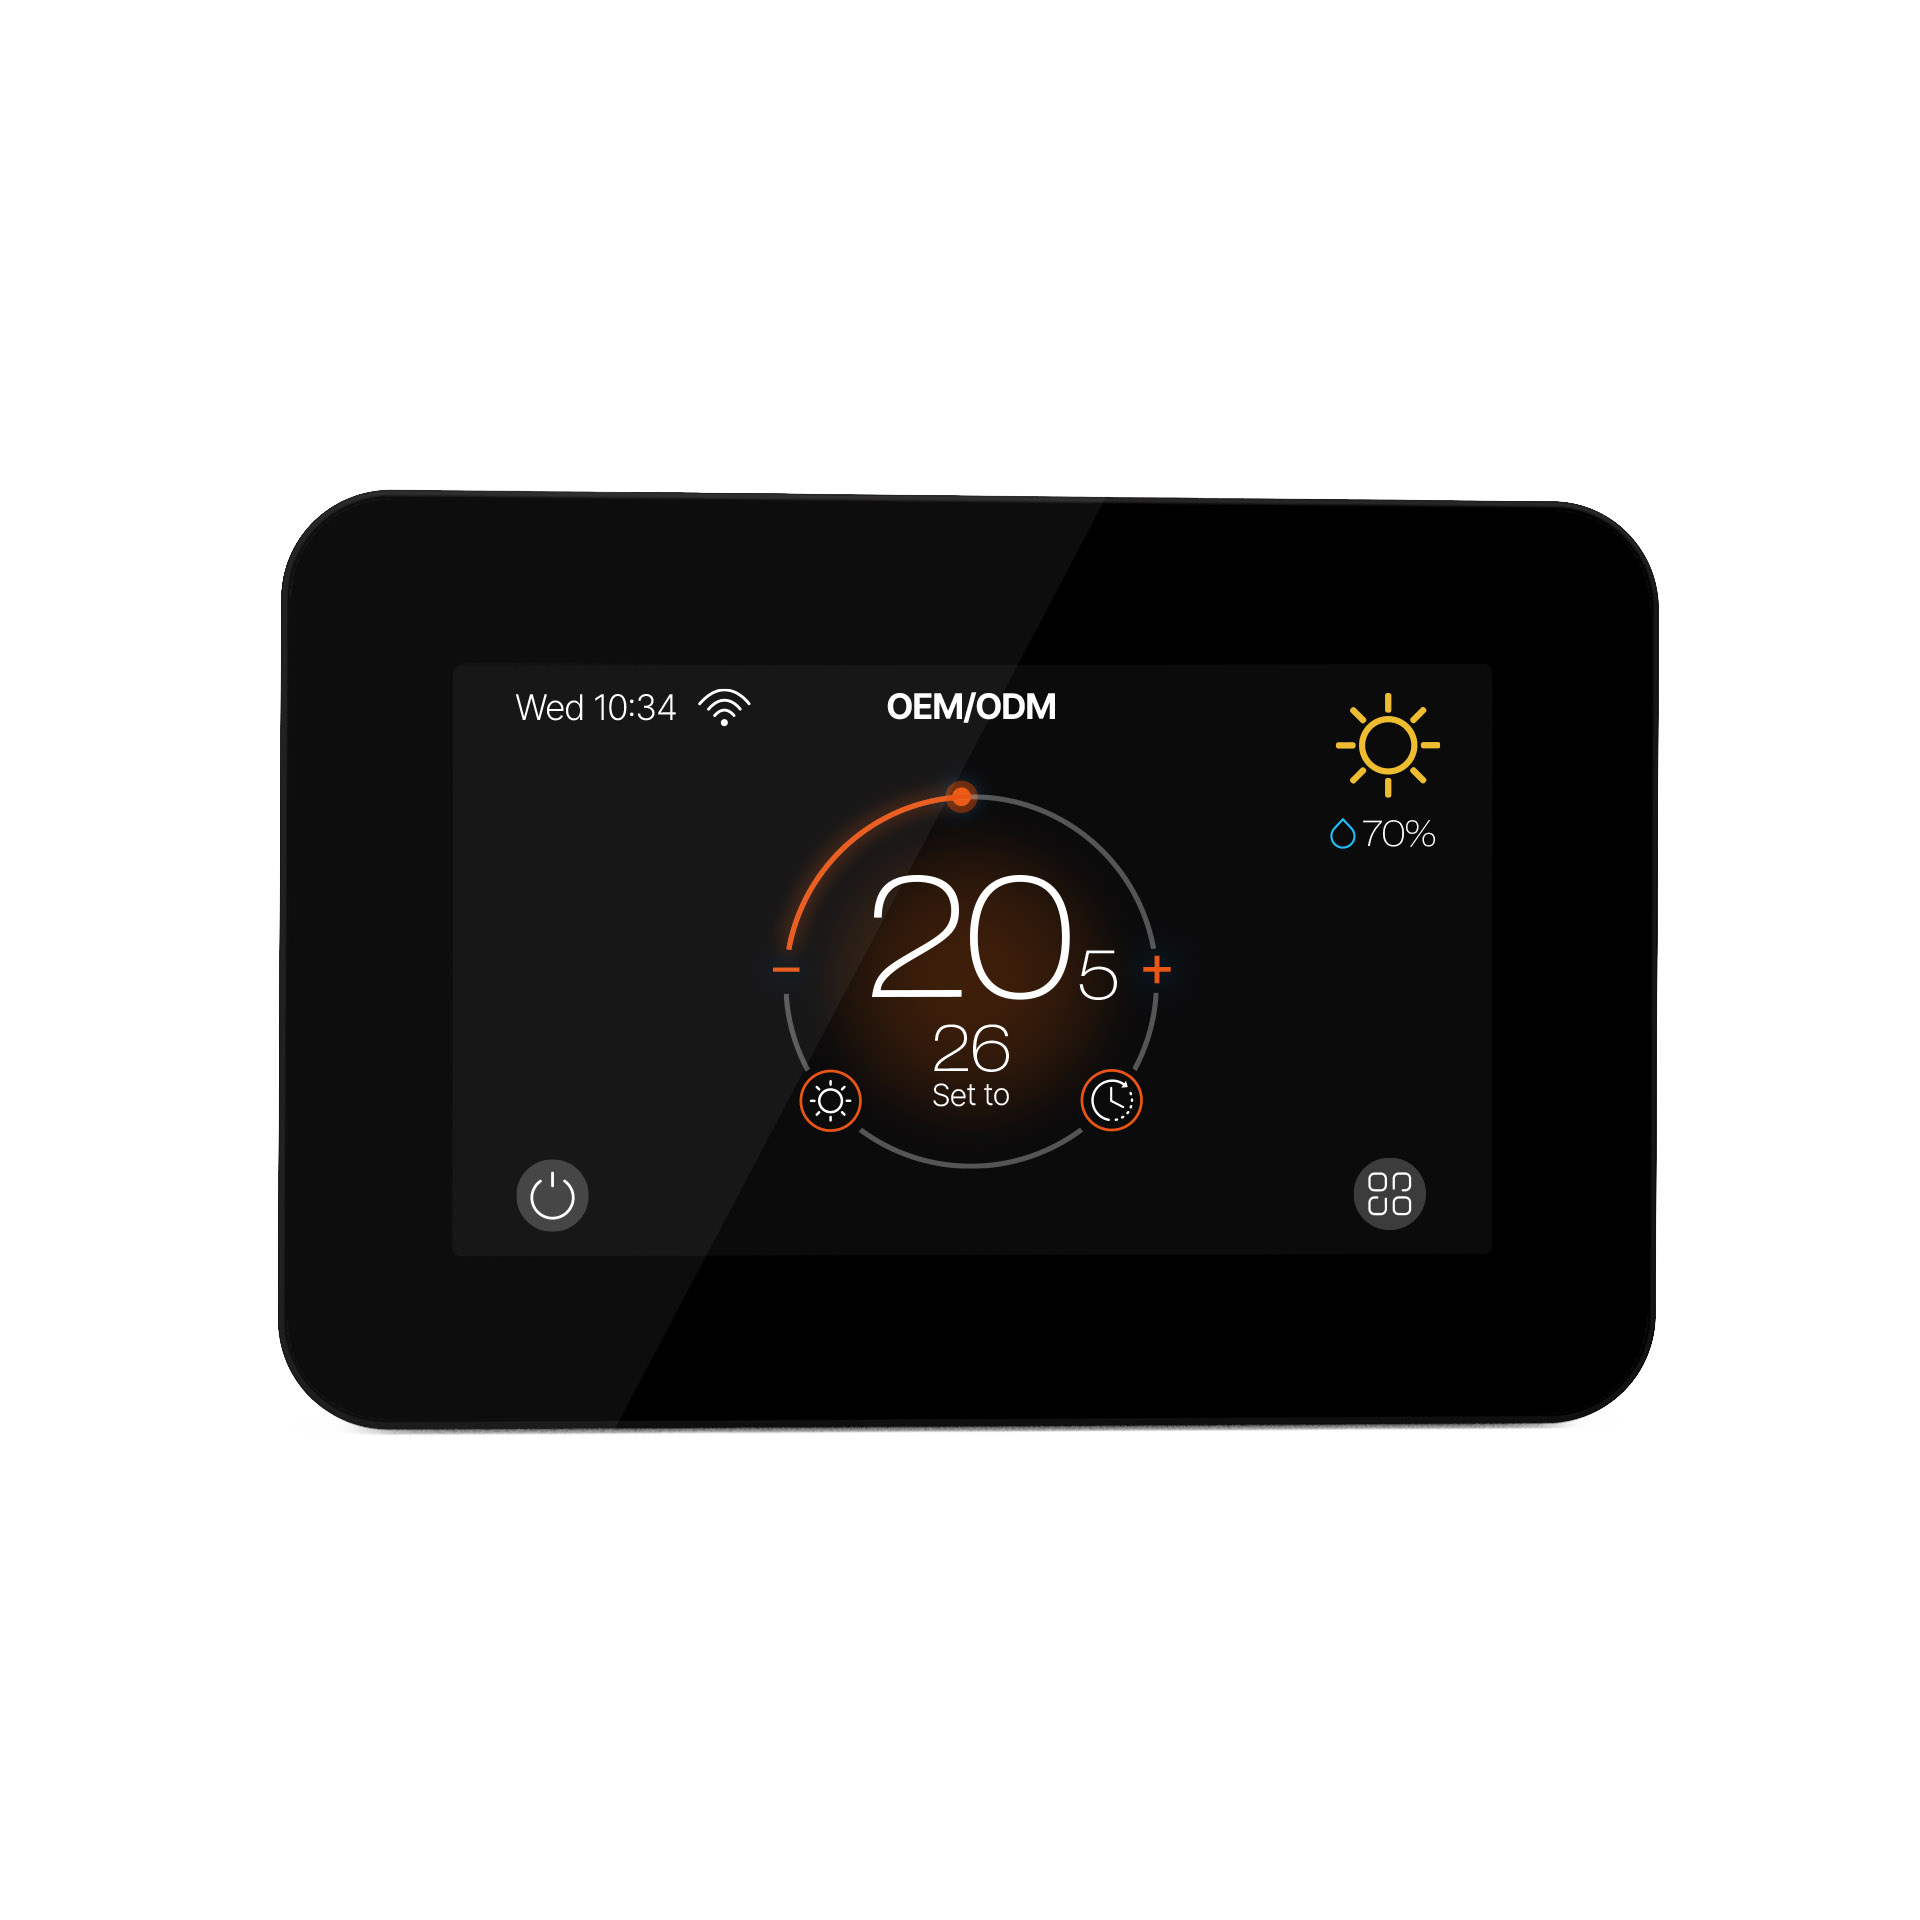
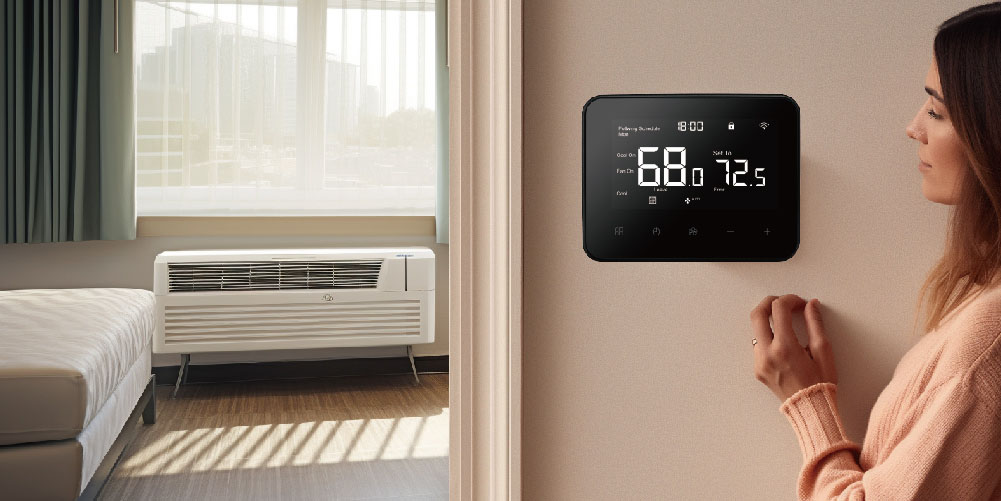
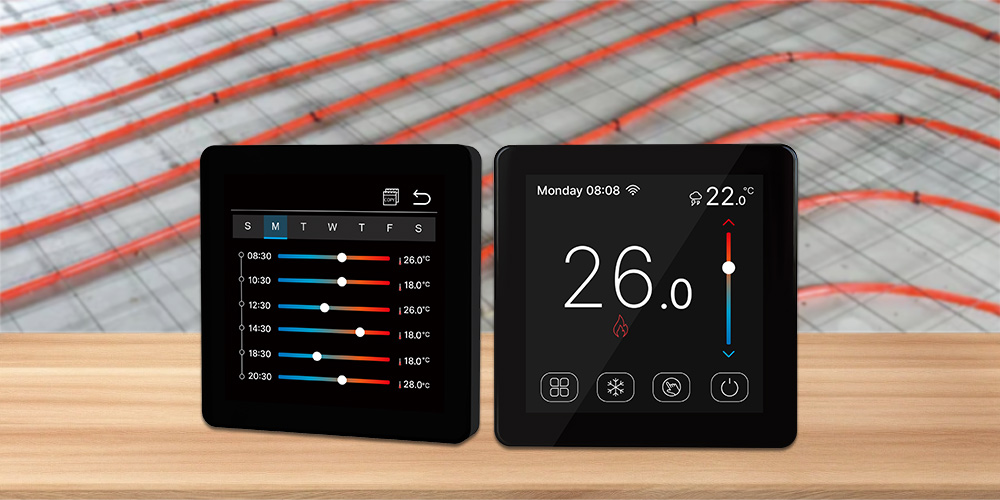
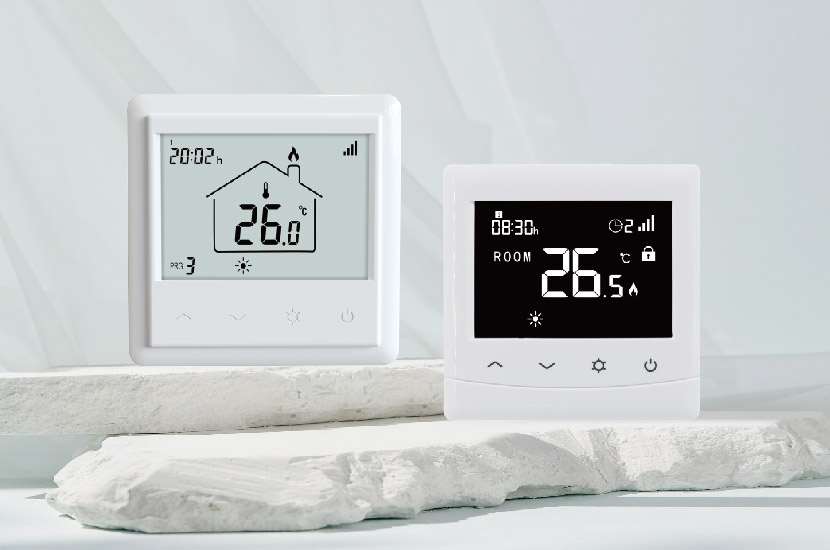
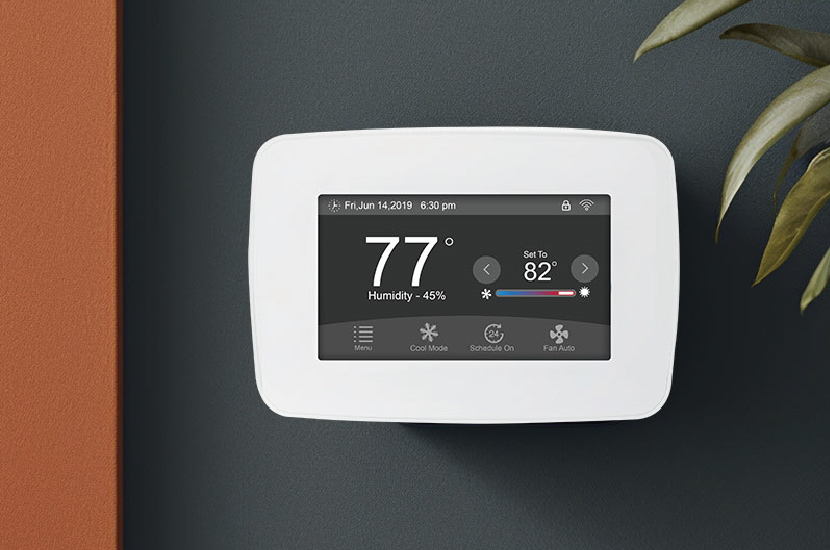
Once the hardware is in place, configure the hydronic floor heating thermostat. Modern smart thermostats often have a user-friendly interface for zone setup. Enter the number of zones in the thermostat’s menu and assign each thermostat to its corresponding zone. Then, set the basic temperature parameters for each zone, including the desired temperature range, heating schedules, and any special settings like vacation modes. For instance, you can program the living room zone to be warmer during the day when people are usually active and cooler at night to save energy.
Temperature Control Operation
After configuration, the system operates automatically. The thermostat continuously monitors the temperature within its assigned zone. When the temperature drops below the setpoint, it sends a signal to open the corresponding zone valve, allowing hot water to flow through the heating pipes in that zone, thus warming up the area. Once the desired temperature is reached, the thermostat signals the valve to close or reduce the water flow, maintaining the temperature within the set range. Users can also manually override the settings on the thermostat at any time to adjust the temperature according to immediate needs.
Monitoring and Optimization
Regularly monitor the performance of the zoned temperature control system. Check if each zone is maintaining the desired temperature and if there are any discrepancies between the set and actual temperatures. Analyze energy consumption data if available, as zoned control should lead to reduced energy use compared to non-zoned systems. Based on the monitoring results, optimize the system by adjusting thermostat settings, checking for any hardware malfunctions, or making adjustments to the heating schedules to further enhance comfort and energy efficiency.
In conclusion, achieving zoned temperature control with a hydronic floor heating thermostat involves careful planning in zoning, proper hardware installation, accurate thermostat configuration, and continuous monitoring and optimization. This approach not only provides personalized comfort but also contributes to significant energy savings, making it a highly practical and efficient solution for modern heating systems.