
Featured articles

More from the category

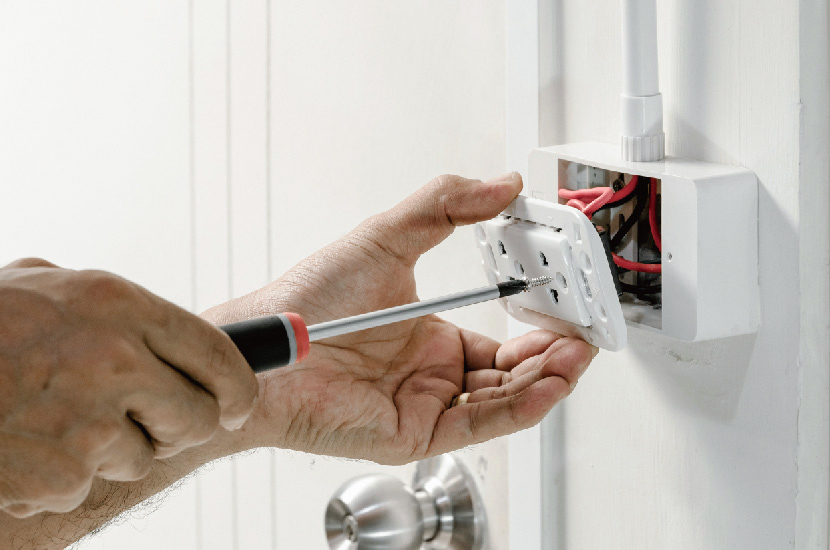
Setting a hydronic floor heating thermostat to low-temperature operation when a high room temperature isn’t required or during absences can save energy and prevent pipes from freezing and cracking. Below is a detailed introduction to the specific steps and methods for this setting.
Clarify the Requirements for Low-Temperature Operation
Before setting the low-temperature operation, it’s necessary to first determine the purpose and scenario. For short-term absences, the temperature can be set between 5 – 8°C, which not only protects the floor heating pipes from freezing but also minimizes energy consumption. If you only want to lower the temperature during nighttime sleep, you can set the temperature between 12 – 15°C according to your tolerance for cold. This can create a comfortable sleeping environment while avoiding dryness and discomfort caused by high temperatures. Additionally, consider the insulation of the house. For houses with good insulation, the temperature for low-temperature operation can be set slightly lower.
Setting Methods for Different Types of Thermostats
Mechanical Knob Thermostats
These thermostats are simple and intuitive to operate. Locate the temperature adjustment knob, which is usually marked with scales or temperature values. Rotate the knob towards the low-temperature direction until the pointer points to the target low-temperature value, such as 8°C. Adjust slowly to avoid inaccurate temperature settings due to over-rotation. After setting, observe the status of the thermostat’s indicator light to confirm that the setting has taken effect.
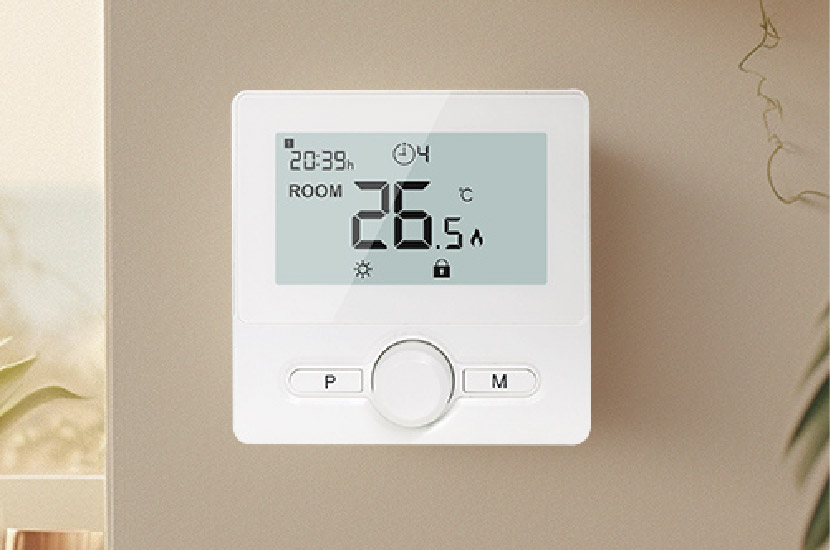
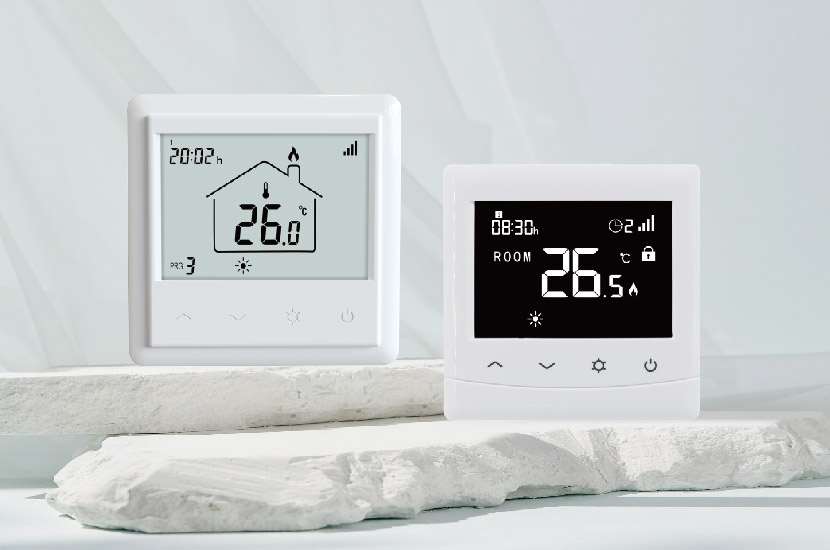
Liquid Crystal Display Button Thermostats
First, press the “Mode” button to switch to the low-temperature operation mode. On some thermostats, this mode may be displayed as “Energy-Saving Mode,” “Anti-Freeze Mode,” etc. Then, use the “+” and “-” buttons to set the target temperature. Each press of the “+” or “-” button will increase or decrease the temperature value by 1°C until the desired low temperature, such as 10°C, is reached. After setting, press the “Confirm” button to save the settings. At this time, the thermostat screen will display the currently set temperature and operation mode.
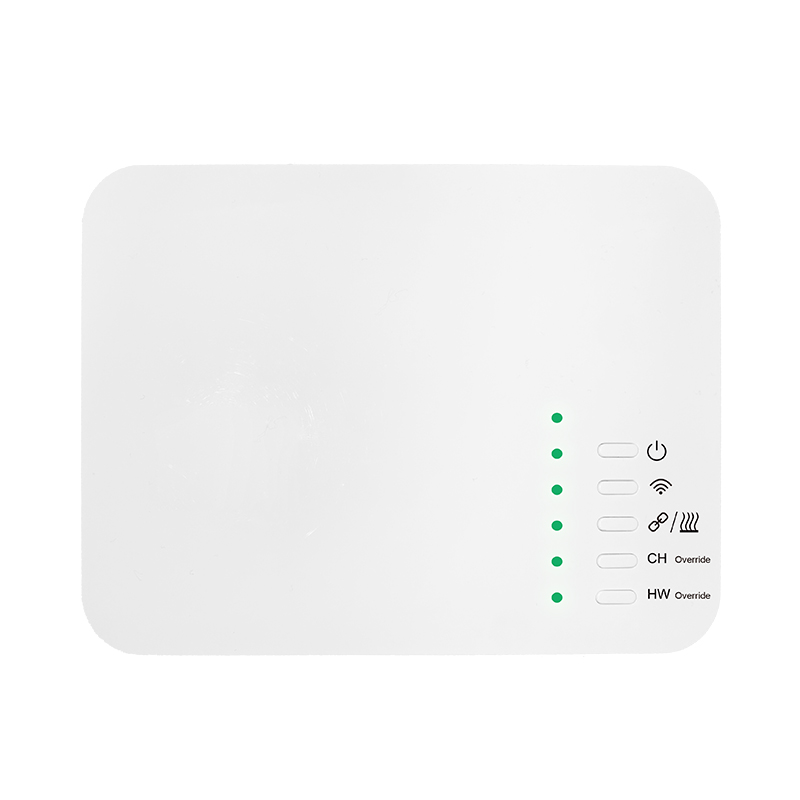
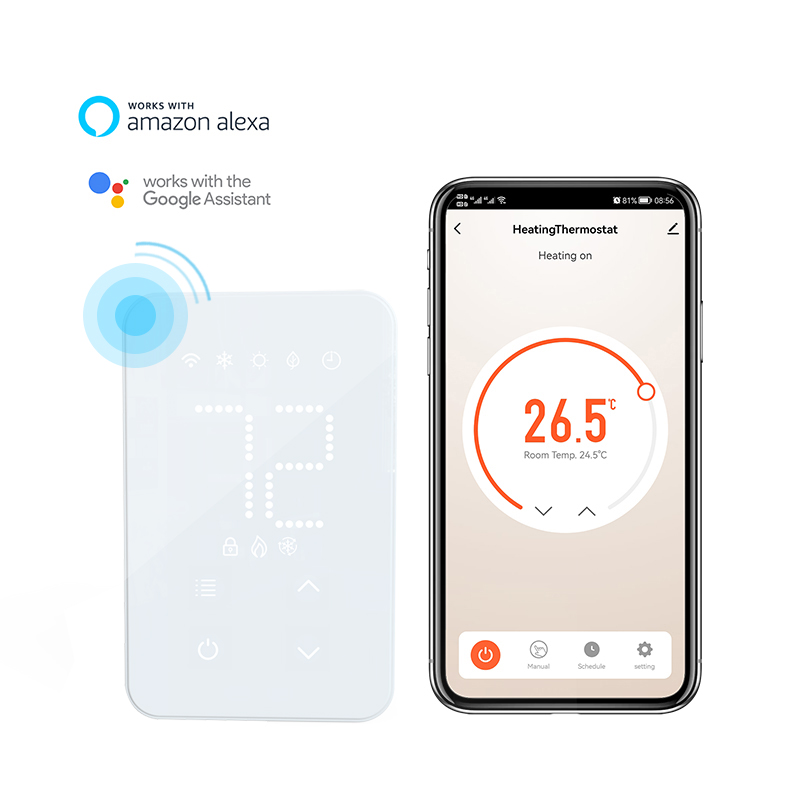
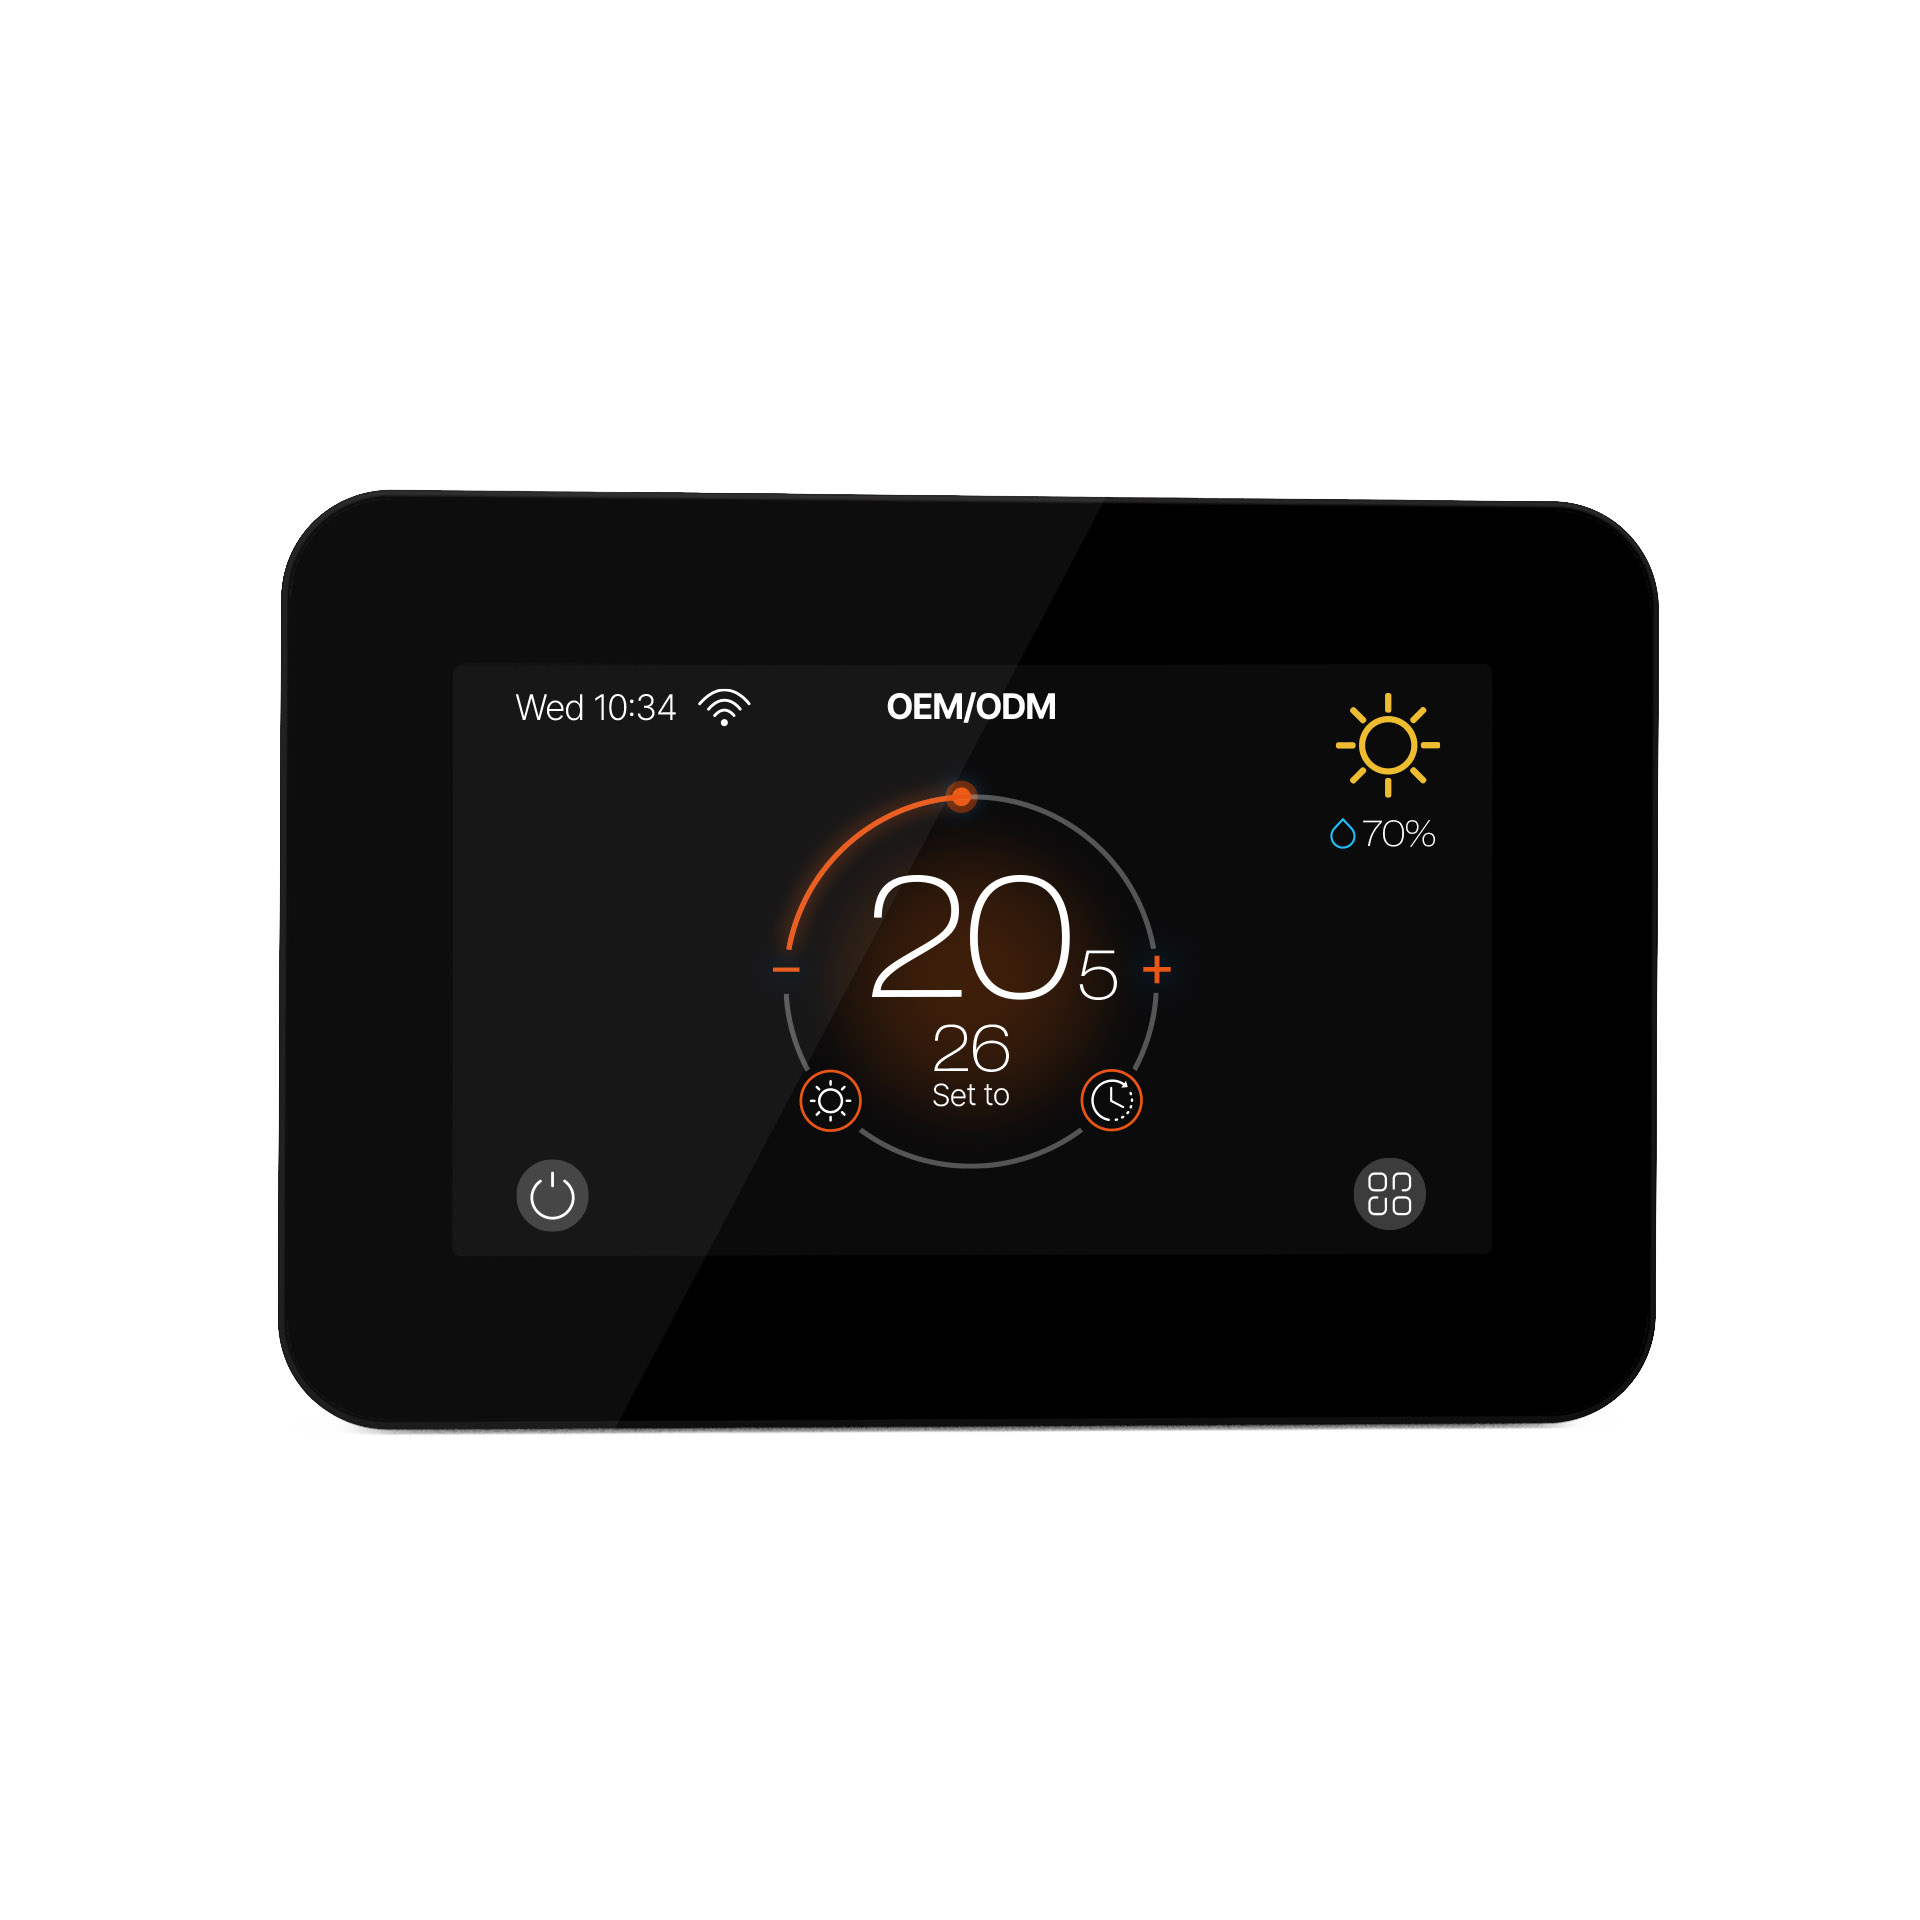
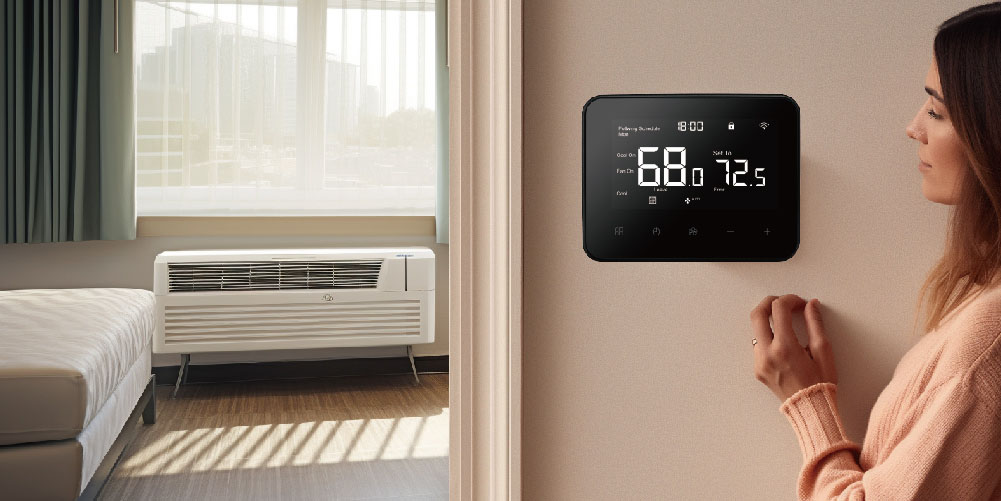
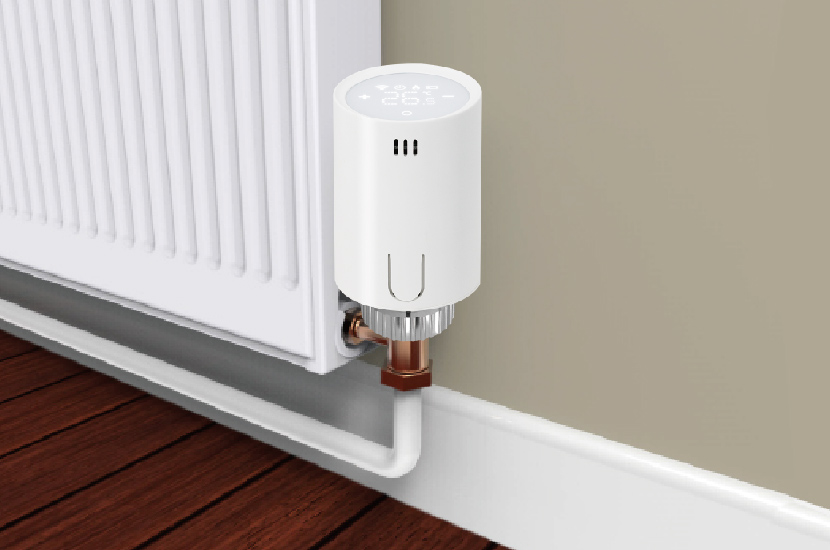
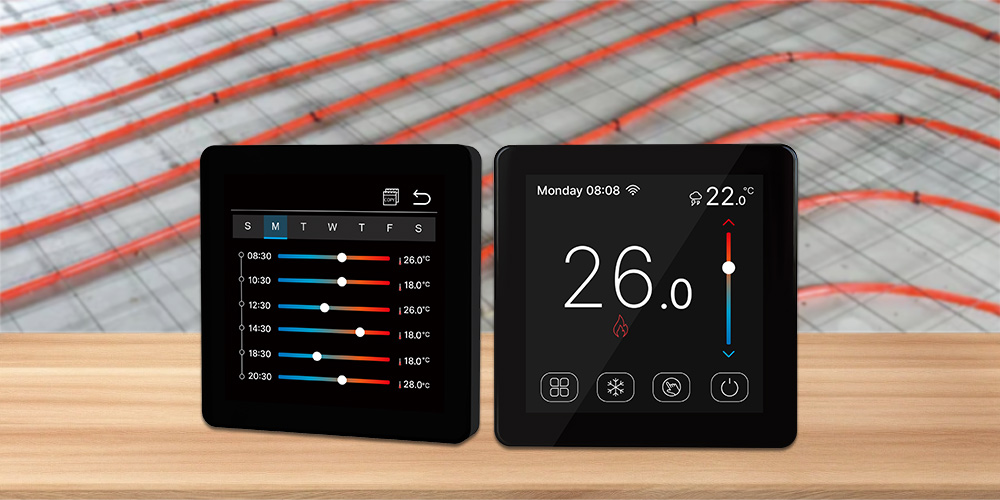
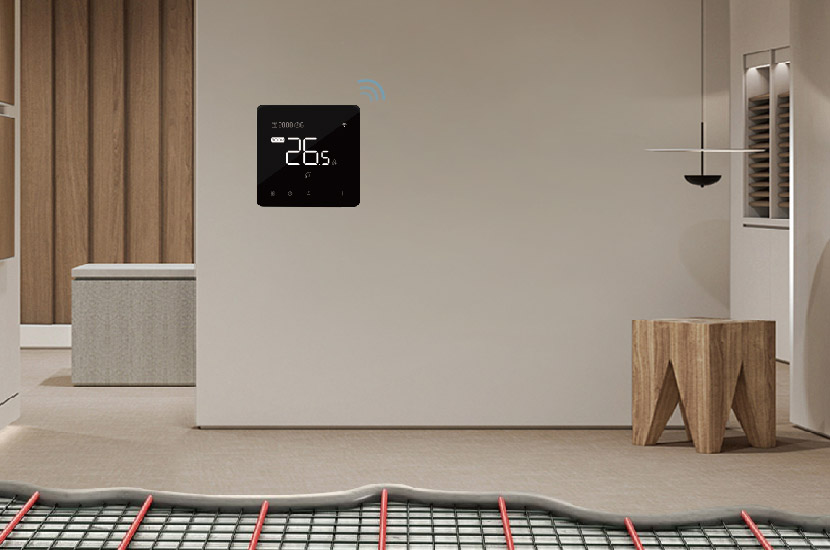
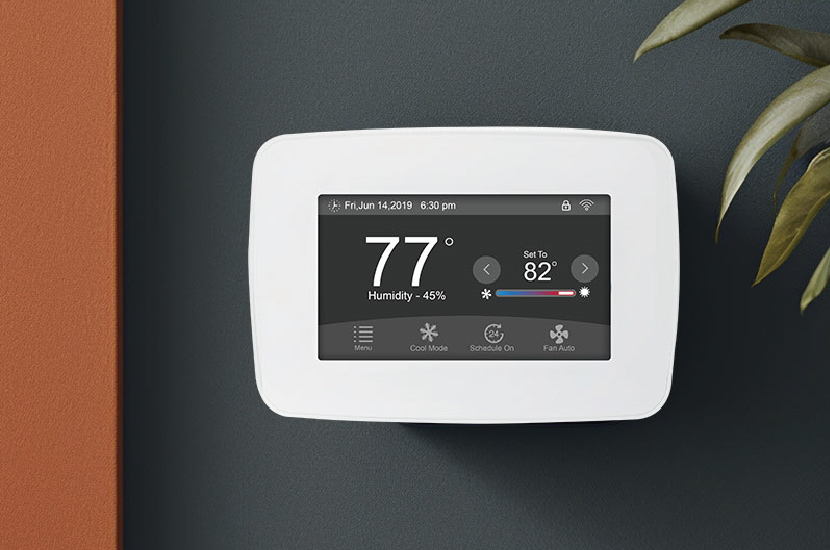
Smart Thermostats
Settings can be made through a mobile app or the thermostat’s touchscreen. Open the mobile app, enter the thermostat control interface, find the “Scene Mode” or “Custom Mode” option, and select the preset “Low-Temperature Operation” scene. If there is no preset scene, you can customize the mode by setting parameters such as the target temperature and operation time periods. When operating on the touchscreen, tap the relevant icons on the screen and follow the prompts to complete the parameter settings for low-temperature operation. Smart thermostats can also use the timing function to set specific time periods for entering low-temperature operation, such as automatically switching to low-temperature operation from 2:00 am to 6:00 am every day.
Inspection and Adjustment After Setting
After completing the low-temperature operation settings, wait for a while and use a thermometer to measure the indoor temperature to confirm whether the set low temperature has been reached. If there is a significant deviation between the actual temperature and the set temperature, check whether the thermostat settings are correct and whether the floor heating system is operating normally. For example, check for air blockages in the pipes and whether the valves are fully open. Based on the inspection results, adjust the thermostat settings until the ideal low-temperature operation effect is achieved.