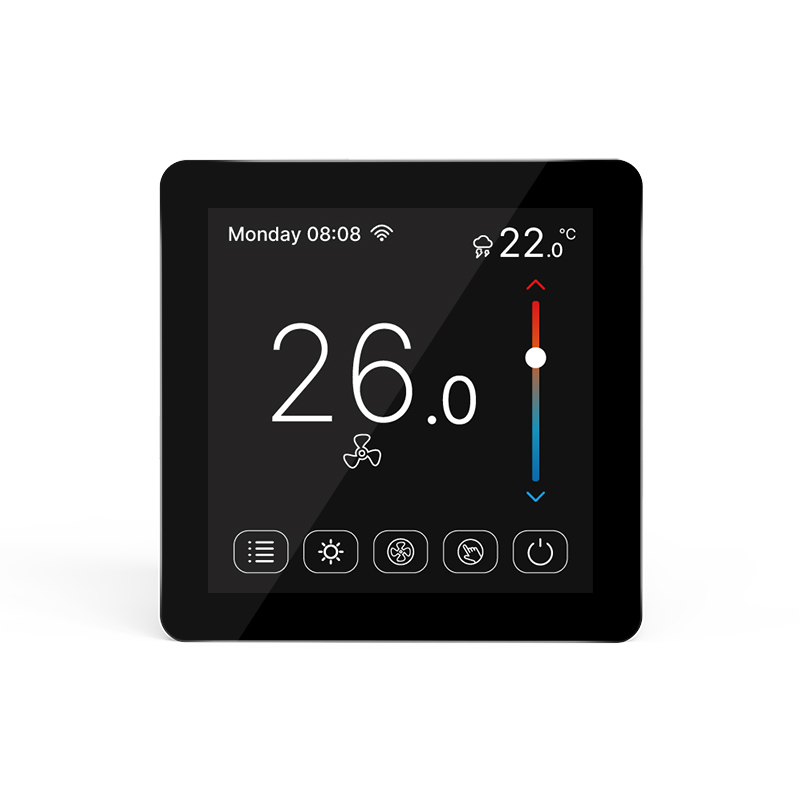


In a home heating system, the radiator thermostatic valve is the key to precise temperature control, improved comfort and energy saving. Improper installation not only affects the effect, but may also cause problems such as water leakage. The following explains the correct installation method from preparation, installation steps to commissioning and maintenance.
Necessary preparations before installation
Confirm the adaptability of specifications
Before purchasing a thermostatic valve, you need to measure the size of the radiator interface, which is commonly DN15 (4-branch) and DN20 (6-branch) to ensure that the two match. At the same time, the material of the radiator and the type of heating system should be considered. For example, steel radiators are easily affected by the oxygen content in the water, so a thermostatic valve that resists oxygen corrosion should be selected; when installing a thermostatic valve in a single-pipe series system, a special method is required to ensure water flow balance.
Prepare tools and materials
Wrenches, raw tape, sealant, and a level are required for installation, as well as protective gloves and towels. Wrenches are used for disassembly and installation, raw tape is leak-proof, sealant is used to strengthen sealing, a level ensures that the thermostatic valve is installed horizontally, gloves and protective gear are used to avoid injuries, and towels are used to deal with water stains.
Turn off the heating system
Before installation, the main valve of the heating system must be turned off, including the water inlet valve and the water return valve. Open the radiator exhaust valve to drain water, place a container to receive it, and wait for the residual water to drain after draining to reduce the risk of water leakage during installation.
Standard installation steps
Dismantle the original valve
Use a wrench to loosen the manual valve of the radiator evenly to avoid damaging the interface. If the valve is severely rusted, it can be treated with a rust remover before dismantling, and the dismantled valve should be properly stored.
Clean the interface
After the valve is removed, use a wire brush or sandpaper to clean the interface debris, rust and residual sealing materials, polish it until it is smooth and flat, and then wipe it with a clean cloth to create good conditions for installation.
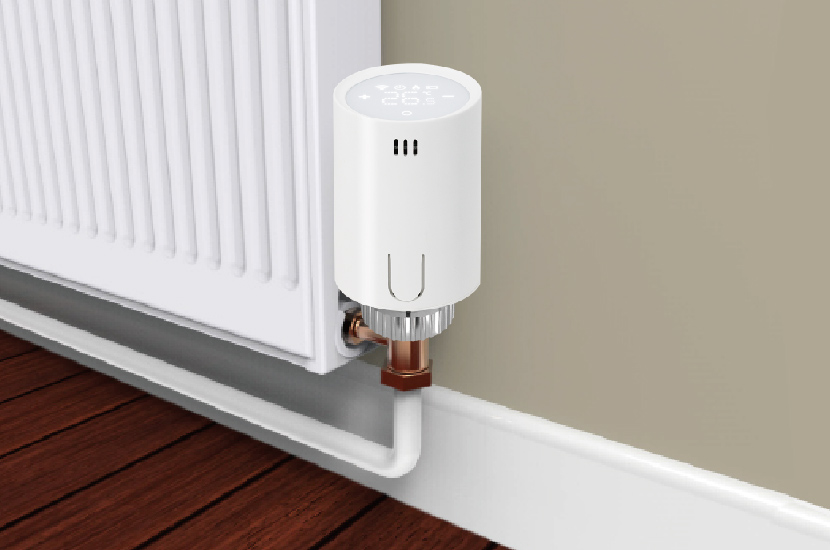
Install the thermostatic valve
Wrap 3-5 turns of raw tape clockwise around the threaded interface of the thermostatic valve to ensure tightness and uniformity, and avoid too much wrapping to affect tightening. Align the thermostatic valve with the interface, first tighten it by hand, and then tighten it with a wrench and a level to ensure that the thermostatic valve is level and prevent the valve core from being affected.
The temperature sensing package is a key component of the thermostatic valve and is installed 1.2-1.5 meters above the ground, away from heat sources and air outlets. During installation, pay attention to protecting the capillary connected to the thermostatic valve to avoid bending and squeezing.
Enhanced sealing (optional)
To prevent leakage during long-term use, apply sealant to the outside of the interface between the thermostatic valve and the radiator, evenly cover the gap, and wait for it to solidify before turning on the heating system.
Debugging and maintenance after installation
After installation, slowly open the water inlet valve and the return valve to check whether the interface is leaking. Minor water seepage can be tightened with a wrench, and serious water leakage requires rechecking the raw tape or interface. After confirming that there is no water leakage, adjust the thermostatic valve to 18-20℃ and observe the temperature rise of the radiator and the change of indoor temperature.
It is necessary to regularly check the working status of the thermostatic valve, check the leakage of the interface and the performance of the temperature sensing package. After the heating is over, adjust the temperature adjustment knob to the lowest or turn it off, clean the surface, and contact a professional for repair in time if there is a fault.
Only by properly installing the radiator thermostatic valve, through full preparation, standardized operation and meticulous maintenance, can its temperature control and energy-saving advantages be brought into play, bringing a comfortable and warm heating experience to the family.