
The complexity of installing a boiler thermostat requires a comprehensive analysis from three dimensions: equipment type, installation environment, and technical requirements. As a core component for improving energy efficiency, the thermostat reduces gas waste through precise temperature control. Its installation involves both basic hardware deployment and electrical wiring connections and system debugging. However, with standardized procedures and tools, both ordinary households and professional installation teams can complete the task efficiently.

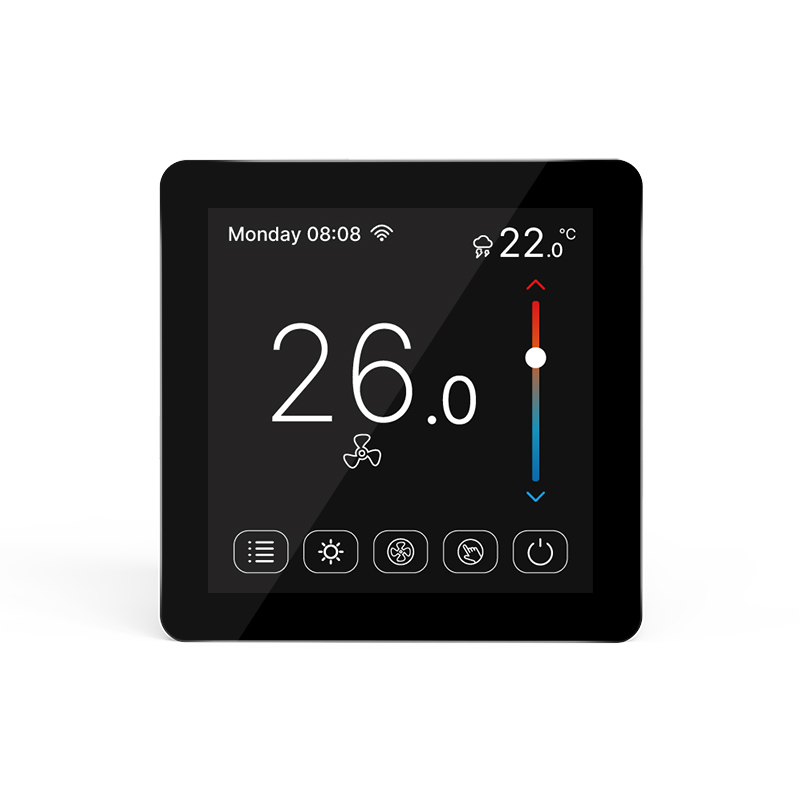
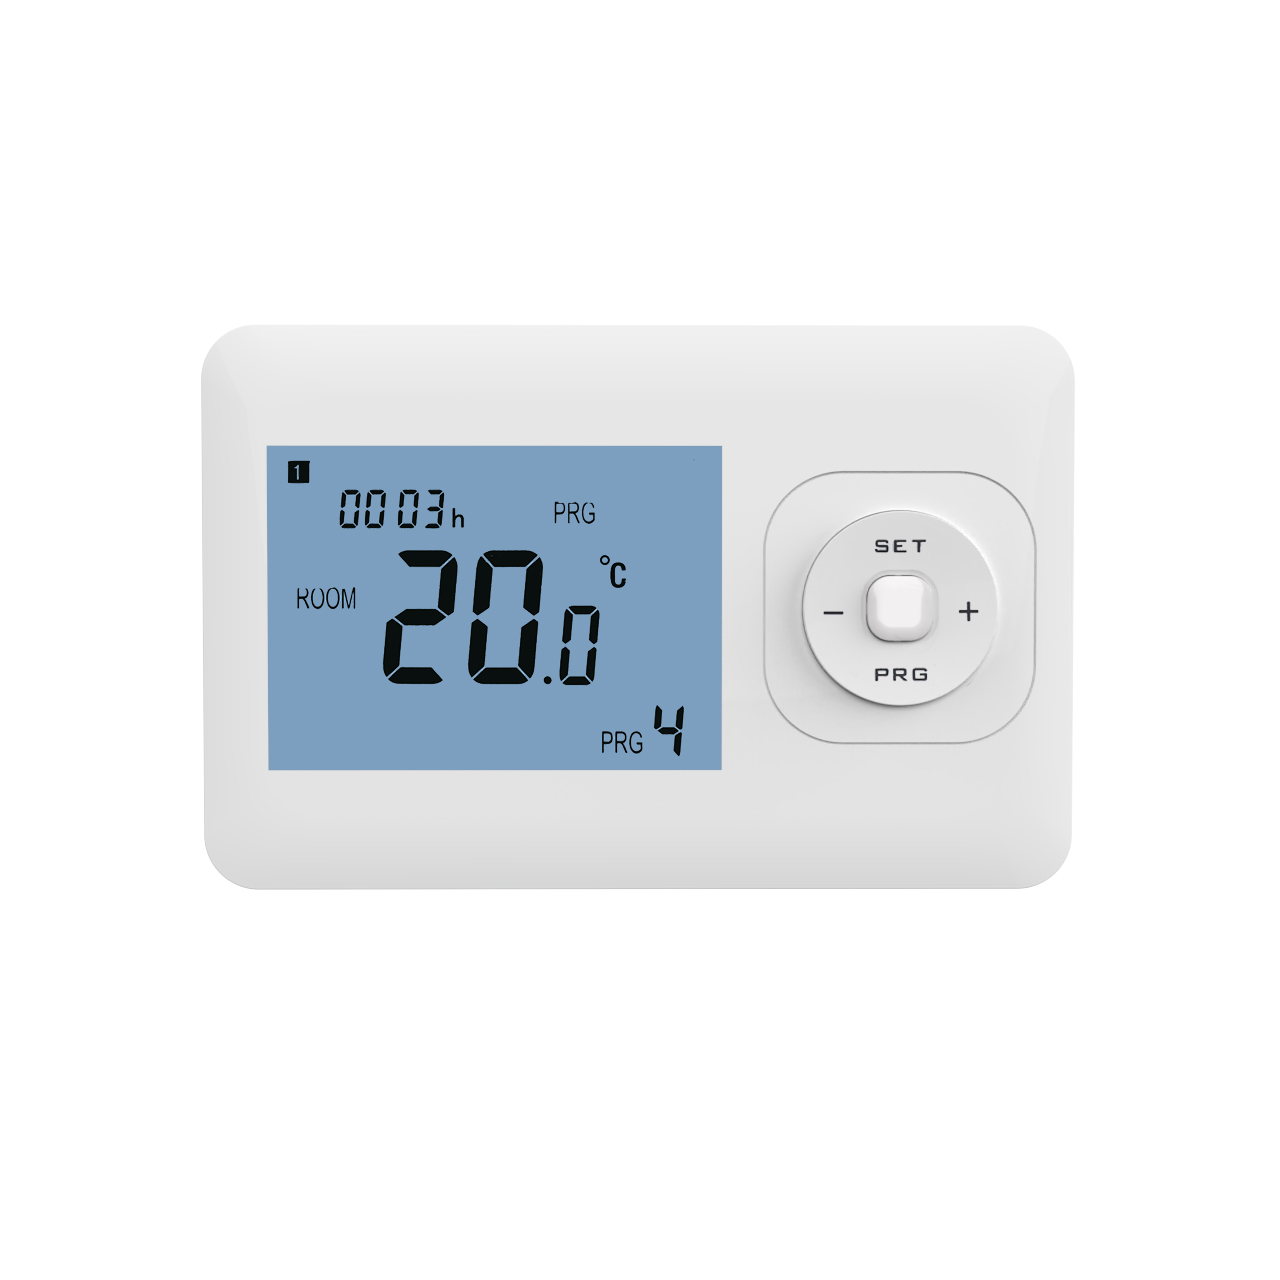
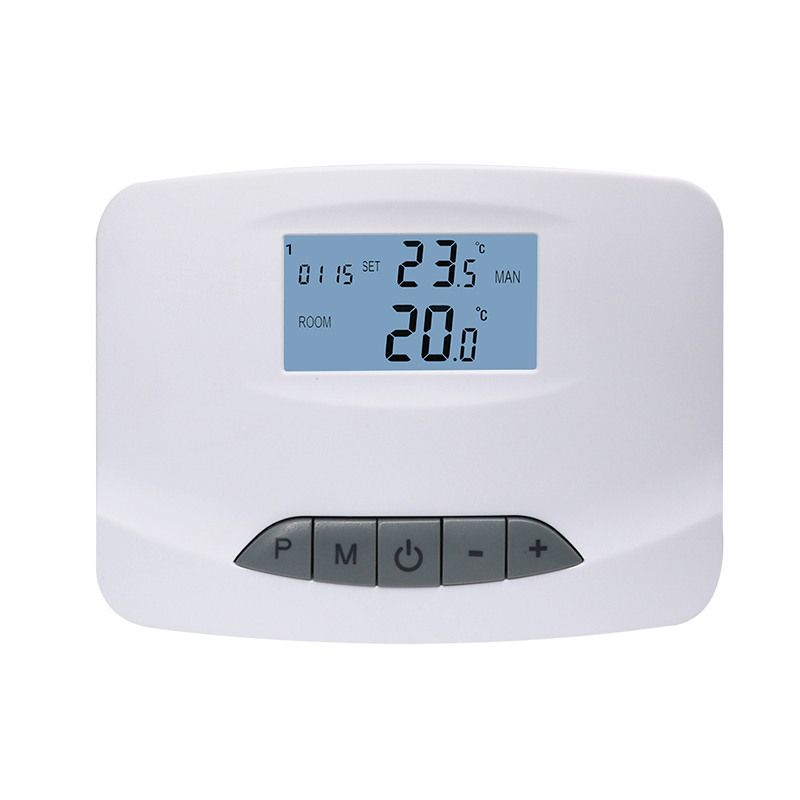
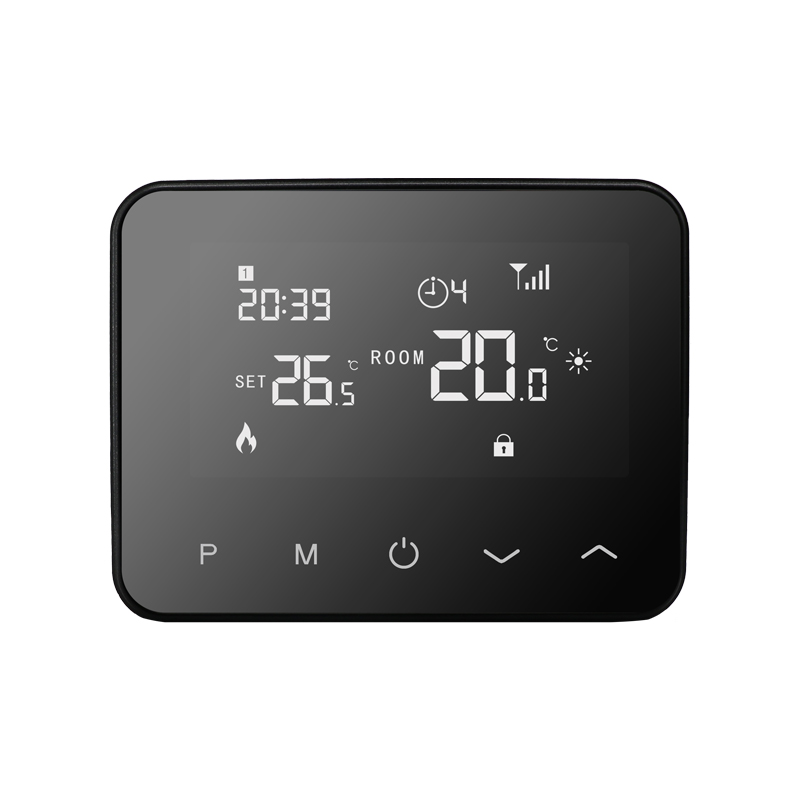
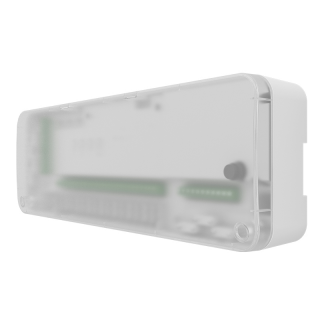
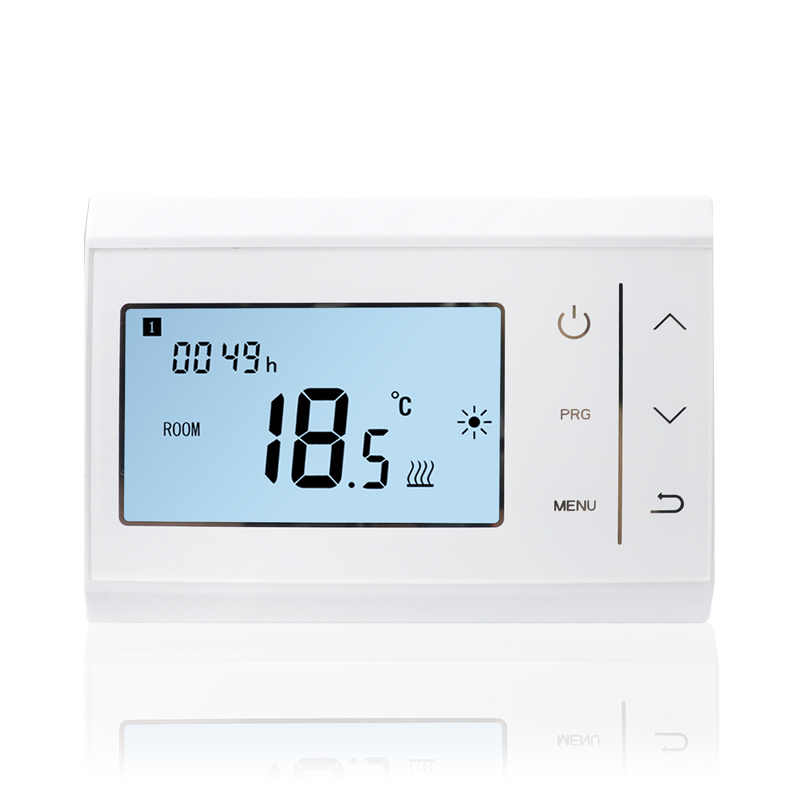
From the perspective of equipment type, the installation complexity of a thermostat is closely related to its product form. Taking wall-hung boiler thermostats as an example, the mainstream products are divided into three categories: mechanical, non-programmable electronic, and programmable electronic. Mechanical thermostats have been gradually phased out due to insufficient temperature control accuracy; non-programmable electronic thermostats are simple to operate and suitable for families with fixed schedules; programmable electronic thermostats achieve intelligent adjustment through preset temperature curves and are currently the mainstream in the market. These thermostats typically use wired or wireless connections. Wired models communicate with the boiler body via twisted-pair cables, while wireless models transmit data via radio frequency signals. During installation, users need to select the corresponding model based on the boiler’s pre-installed interface. For example, some boilers have pre-installed thermostat wiring terminals at the factory; users only need to connect the thermostat signal line to the boiler’s pre-installed interface to complete the hardware deployment.
The installation environment also significantly impacts operational difficulty. The thermostat’s detection accuracy directly depends on the installation location. According to industry standards, thermostats should be kept away from radiators, doors, windows, and other heat or cold sources to avoid localized temperature interference with the detection results. The ideal installation height is approximately 1.4 meters, level with light switches, which facilitates operation and reflects the average temperature of the area where people are active. For example, in a living room with underfloor heating, the thermostat should ideally be installed on the wall behind the sofa to avoid direct sunlight; if using radiators, it should be at least 1 meter away from the radiators. Furthermore, the wall material also affects the installation method: concrete walls require drilling with an impact drill, while plasterboard walls require first positioning the joists before fixing the junction box. For already renovated houses, installers need to run cables along wall corners, concealing signal lines within baseboards or ceilings to maintain an aesthetically pleasing appearance.
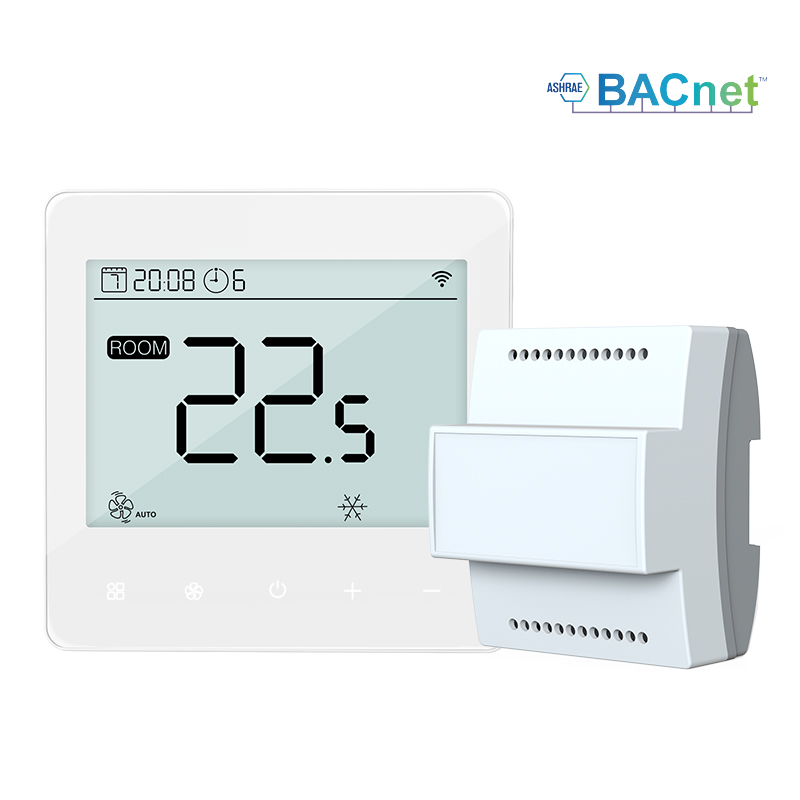
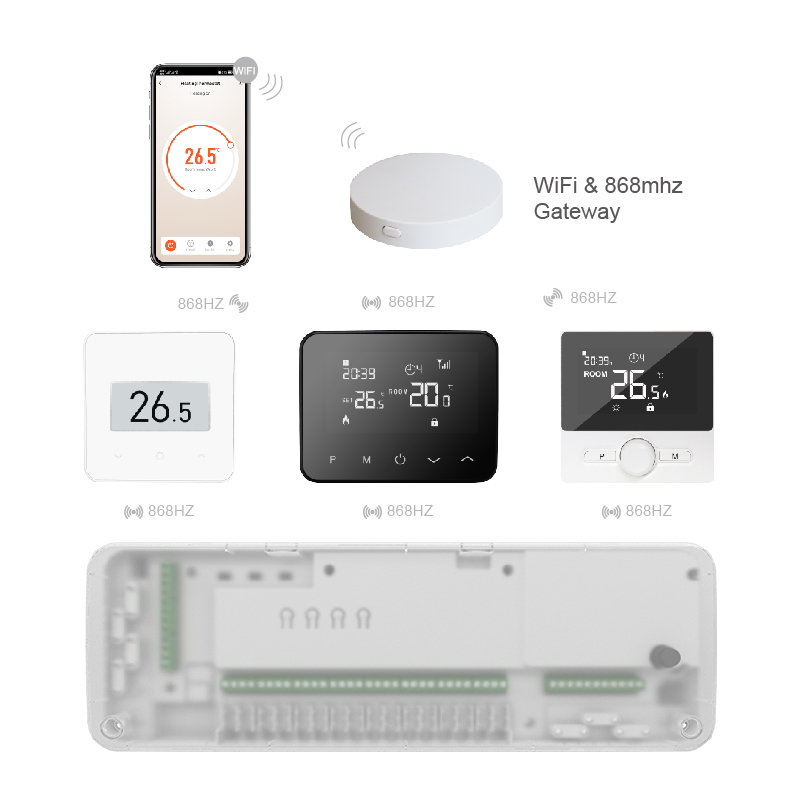
From a technical standpoint, electrical connections and system debugging are the core aspects of installation. Taking a wired thermostat as an example, installation requires 2 x 0.75 mm² multi-strand twisted-pair flexible cables. 0.5 meters of cable should be pre-installed indoors, and 1 meter should be pre-installed at the boiler end. After the cable is threaded into the 86-type switch junction box, the joints must be wrapped with insulating tape, and the junction box should be filled with rigid foam to prevent pulling. When connecting to the boiler, locate the pre-installed thermostat terminals, typically two short blue and brown wires, cut them, and connect them to the thermostat signal lines. Some high-end boilers support multi-zone temperature control, requiring multiple thermostats to be installed via a manifold. In this case, shielded cables must be used to reduce signal interference. During the system commissioning phase, installers need to set parameters such as anti-freeze mode and programming mode. For example, the anti-freeze temperature can be set to 5℃, causing the boiler to automatically start when the indoor temperature drops below this value. The programming mode allows for pre-setting a 7-day temperature curve based on the user’s schedule, such as setting it to 18℃ during the day, 15℃ at night, and 20℃ on weekends. After commissioning, a 24-hour continuous operation test is required to check the communication stability between the thermostat and the boiler.
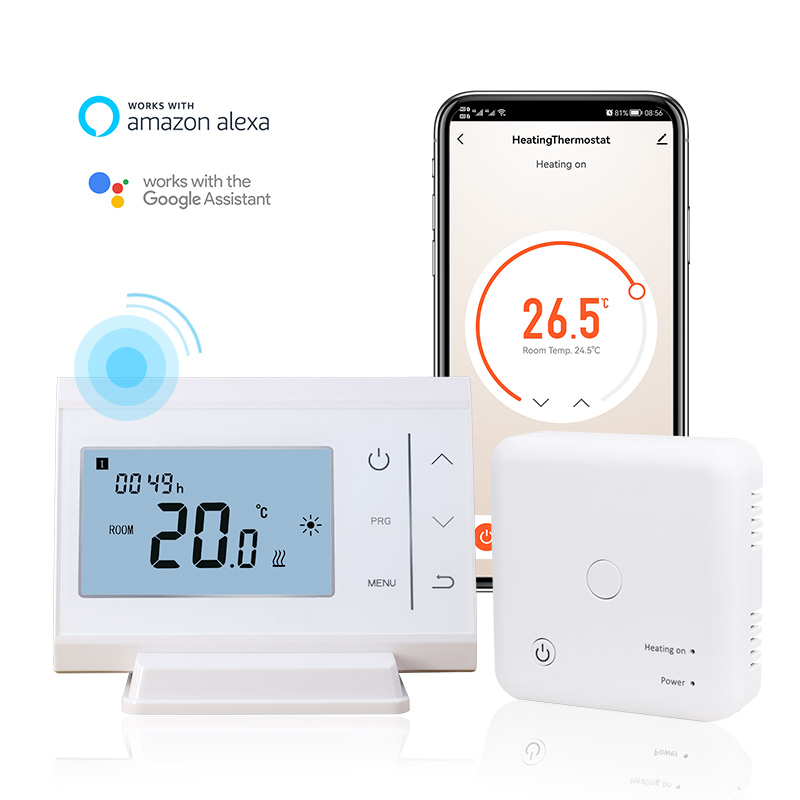
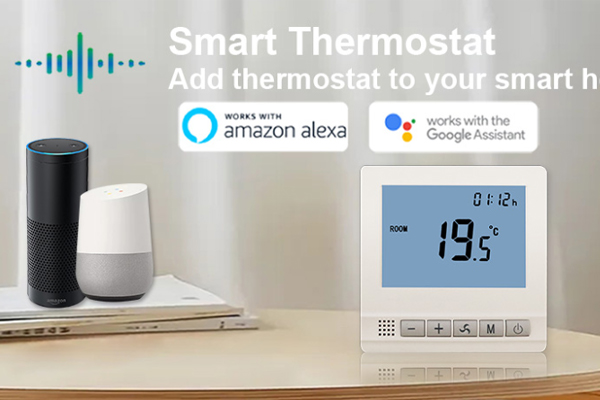
For users without professional knowledge, choosing a wireless thermostat can significantly reduce installation difficulty. Wireless models are battery-powered, requiring no wiring; simply insert the receiver into the boiler’s pre-installed interface. For example, a certain brand of wireless thermostat uses 2.4GHz radio frequency communication, with an effective transmission distance of up to 30 meters and stable wall penetration performance. Users can install it in any room to achieve zoned temperature control. Some products also support remote control via a mobile app, allowing users to adjust temperature settings through a cloud server, further simplifying the operation process.
The installation complexity of a boiler thermostat depends on three factors: equipment type, installation environment, and technical requirements. By selecting the appropriate model, scientifically planning the installation location, and standardizing electrical connections and system debugging, ordinary users can complete basic installation within 2 hours, while professional teams can deploy multi-zone intelligent temperature control systems. With the development of IoT technology, future thermostats will integrate more intelligent functions, and their installation process will be further simplified, providing more efficient energy management solutions for both residential and industrial users.