In the cold winter, a comfortable floor heating system has become an essential choice for many families. Floor heating not only keeps your feet warm but also radiates heat through the floor, achieving a uniform and comfortable indoor temperature. One of the core components of a floor heating system is the control box, which manages the thermostats in each room and coordinates the operation of the water pump and electric actuators, ensuring efficient and stable system operation. However, many people encounter a problem during installation: how exactly do you connect the water pump to the floor heating control box? Improper wiring can not only affect the heating effect but may also damage the water pump or cause malfunctions in the control box.
What is the role of the water pump in a floor heating system?
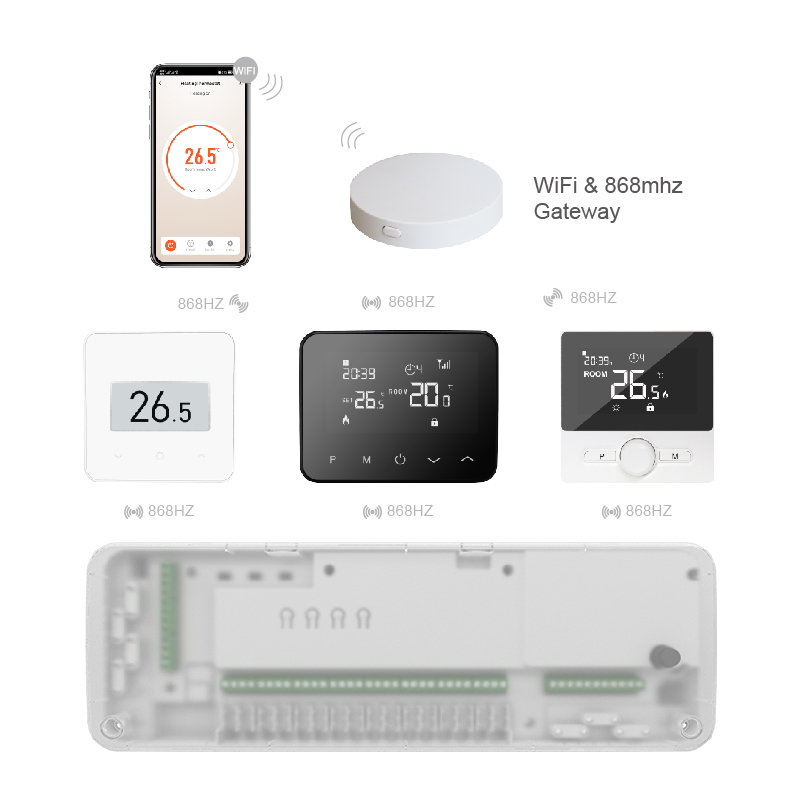
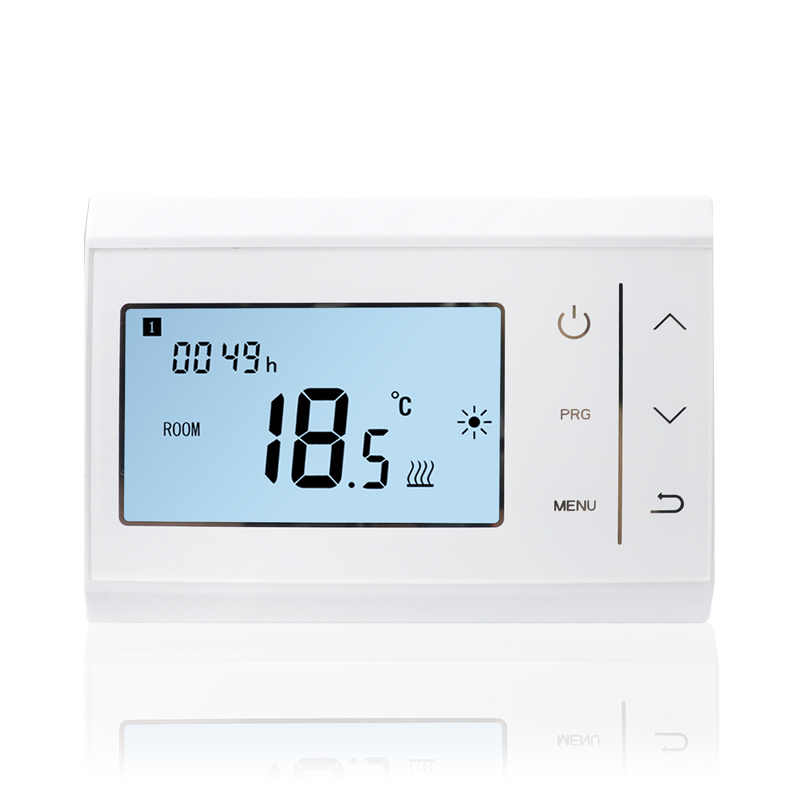
The water pump is the power core of the floor heating system. It is responsible for evenly delivering heated water to the floor heating pipes in each zone. Simply put, without a water pump, hot water cannot circulate smoothly, and the floor heating cannot provide normal heating. The water pump is usually started or stopped by a switch signal from the control box, allowing the system to automatically adjust its operating status according to the needs of the thermostats in each area. For example, when the temperature in a room is lower than the set value, the corresponding thermostat sends a signal to the control box, which then starts the water pump and the actuator for that area to provide heating. When the room temperature reaches the set value, the water pump or the actuator for that area will stop operating to save energy. Therefore, before connecting the water pump, you must first identify the interface on the control box responsible for water pump control, usually labeled “Pump” or a similar mark. Ensure correct wiring to avoid control signal confusion.
Basic Steps for Connecting a Water Pump to the Control Box
Confirm Power and Control Signal Interfaces
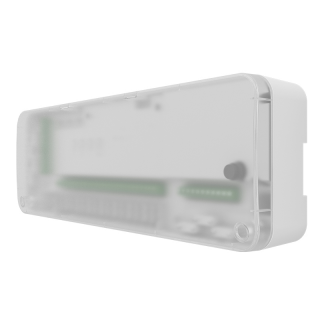
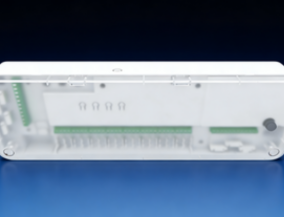
Open the control box to find internal wiring terminals, typically including area control terminals and water pump control terminals. The water pump terminal usually has a two-wire interface: one for the control signal and the other for the power return line. Always turn off the main power supply before installation to prevent electric shock or short circuits.
Connect the Water Pump Power Cord
Connect the water pump power cord to the water pump terminal according to the markings on the control box. Ensure the water pump voltage level matches the control box output signal; otherwise, the water pump may fail to start or be damaged.
Connect the Control Signal Line
The control signal line tells the water pump when to start and stop. This line is usually connected to the relay output terminal of the control box. When any zone needs heating, the relay closes, and the water pump starts running; when heating is not needed, the relay opens, and the water pump stops.
Check Zone Thermostat Settings
The control box can manage up to 8 zones (Max. 8 Zones), and each zone can connect to multiple thermostats and actuators. The thermostats sense the room temperature, and the actuators control the opening and closing of the underfloor heating circuit valves. When the temperature in any zone falls below the set value, the control box will start the water pump through the water pump port and simultaneously open the actuator in that zone to circulate hot water.
Power-On Test
After wiring, briefly power on the water pump to test its startup and confirm that the control signal correctly triggers the pump. Then, test the actuator switches in each zone to ensure they are functioning correctly. Ensure all wiring is secure and that there are no short circuits or loose connections in the power and signal systems.
Precautions for Water Pump Installation
Pump Location and Height
The water pump should be installed in a location that facilitates maintenance and venting. Ensure the pump inlet is slightly lower than the water tank or boiler outlet to prevent dry running and air blockage.
Prevent Dry Running
Do not start the water pump before the system is full of water to avoid damaging the internal impeller.
Properly Set Delay Times
The control box usually allows setting delayed start and stop times for the water pump to prevent frequent starts and wear. For example, you can set a 10-second delay start and a 30-second delay stop to protect the pump and ensure sufficient hot water circulation.
Rational Zoning
Each room or area should have a thermostat installed according to usage habits, prioritizing hot water supply to areas with high demand. The control box will intelligently start the water pump and actuators in each zone based on the thermostat signal, achieving energy savings.
The connection between the underfloor heating control box and the water pump may seem complex, but the core is understanding the connection methods for control signals and power supply, and managing zones rationally. The water pump is the power source of the underfloor heating system, and its starting and stopping depend entirely on the coordination between the control box and the thermostat. With proper wiring and debugging, the water pump can automatically operate according to the temperature requirements of each room, enabling the underfloor heating system to operate efficiently, comfortably, and energy-savingly. During installation, it is crucial to ensure power supply matching, secure terminal connections, and prevent the water pump from running dry. Additionally, setting a reasonable delay time should be used to avoid frequent pump starts.