

Many families hesitate to upgrade their heating systems due to concerns about the complexity of installing thermostatic radiator valves. However, with the correct installation steps and precautions, ordinary users can complete the installation within 1-2 hours using basic tools, without the need for a professional plumber. This “small investment, big return” upgrade not only improves indoor temperature control accuracy but also reduces heating energy consumption by 15%-20%, making it a highly cost-effective energy-saving upgrade solution for homes.

Preparation before installation is crucial for a smooth process. First, confirm the radiator type: self-regulating thermostatic valves are suitable for most two-pipe radiator systems, while single-pipe systems require H-type valves with bypass functionality to prevent water flow obstruction due to resistance imbalance. Second, check the pipe condition. If the pipes are aged or severely corroded, replace them with new ones. If there is welding slag or impurities in the pipes, install a Y-type filter before the valve to prevent clogging. For tools, you only need an adjustable wrench (for tightening joints), Teflon tape (for sealing threads), a spirit level (to ensure the valve is installed horizontally), and a marker (to mark the installation location). These tools can be purchased inexpensively at hardware stores.
The installation process can be divided into four steps: First, close the main valve of the heating system to drain any residual hot water in the pipes to avoid scalding during installation. Second, remove the existing valves or plugs and lightly sand the pipe joints with sandpaper to remove the oxide layer and ensure a seal. Third, wrap the Teflon tape, starting from the second turn of the thread, clockwise for 5-7 turns, ensuring the end is firmly pressed to prevent loosening. Fourth, install the thermostatic valve, aligning the valve threads with the pipe joint. After initially tightening by hand, use an adjustable wrench to secure it using a “tighten first, then loosen” method (tighten 1/4 turn first, then loosen 1/8 turn, and finally tighten completely) to avoid excessive force that could damage the threads. The entire process requires no pipe cutting or welding and involves minimal modification to the existing system.
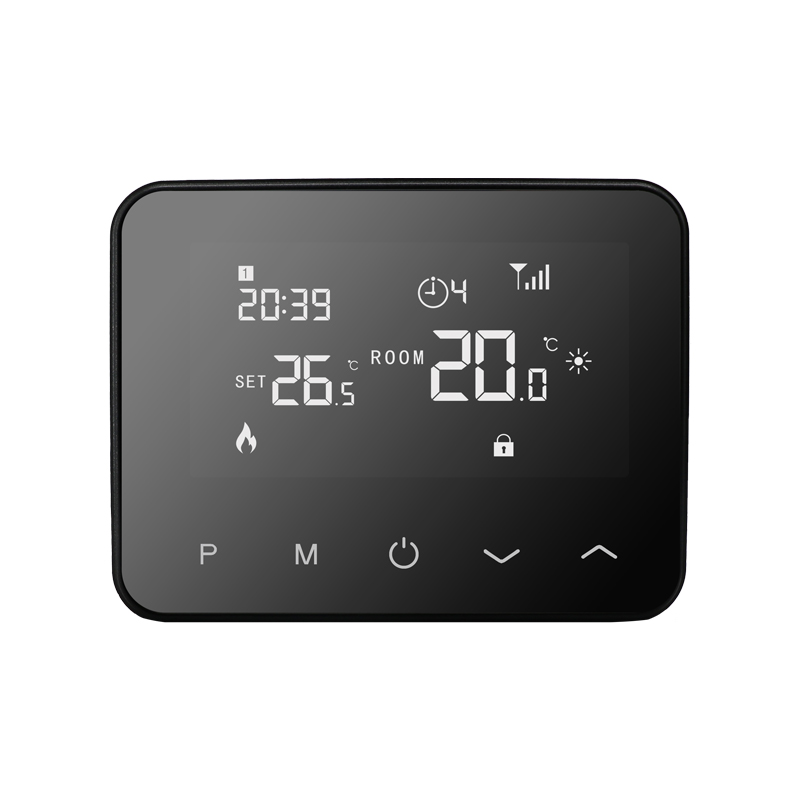
The post-installation commissioning process directly affects the performance. First, check if the valve is level. Tilting may cause inaccurate temperature sensing. Use a spirit level to adjust it to be parallel to the ground. Second, open the main valve of the heating system and slowly open the corresponding branch valve on the manifold. Observe the thermostatic valve for leaks. If there is slight leakage, tighten the joint. If leakage persists, replace the gasket. Finally, calibrate the temperature. Set the thermostat handle to the highest temperature (usually 28℃), wait 10 minutes, and then measure the radiator surface temperature with a thermometer. If the deviation from the set value exceeds ±2℃, fine-tune the spring preload using the adjustment knob at the bottom of the valve until the temperature reaches the target.
Among common problems, 80% of installation failures stem from neglecting details. For example, if a filter is not installed, the valve body may become stuck due to impurities, resulting in the valve being unable to adjust or making abnormal noises. In this case, the system needs to be shut down, the valve removed, and cleaned. If the thermostat is obstructed by curtains, causing sensor malfunction, the valve may continue to heat even when the room temperature is within the acceptable range. Simply adjust the thermostat to a well-ventilated area. If the valve is installed in the wrong direction (inlet and outlet reversed), it will cause a short circuit in the water flow, preventing heating. Reinstallation is required, paying attention to the arrow markings on the valve. The solutions to these problems are not complicated, and ordinary users can solve them themselves by reading the instruction manual or watching the installation video.
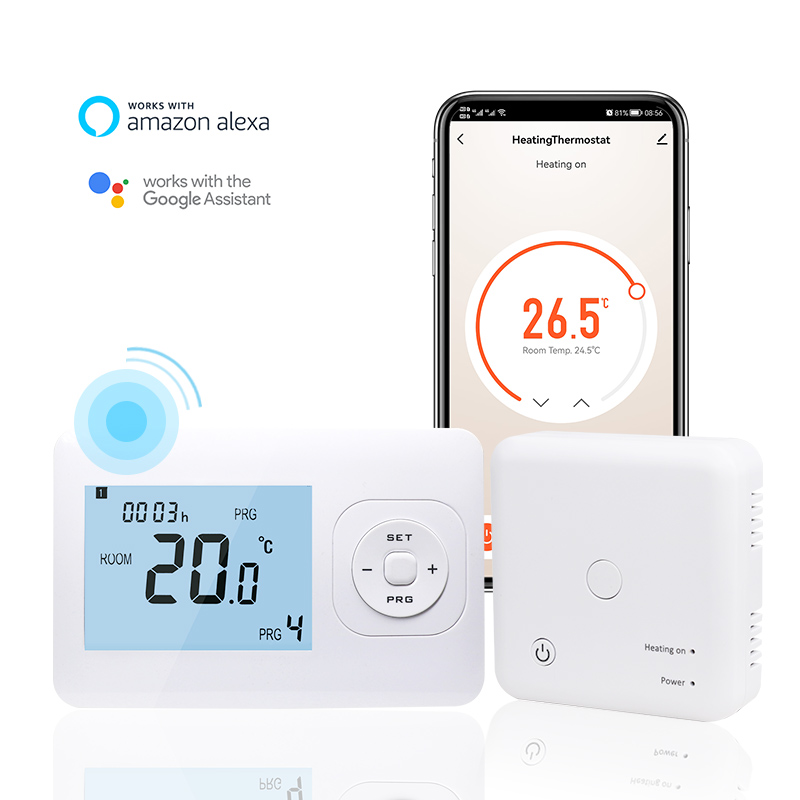
While the installation process of a thermostatic radiator valve involves multiple steps, from tool preparation to commissioning, each step has clear operating standards and tolerances. Even users without installation experience can complete the modification within 2 hours by following the instructions step by step. More importantly, this “one-time installation, lifelong benefit” upgrade not only allows for “customizable” room temperatures but also reduces energy waste through intelligent temperature control, saving families hundreds of yuan in heating costs. With the increasing prevalence of smart homes, thermostatic valves will also support remote control via mobile phone in the future, making warmth readily available.