


After installing a 24V thermostat, many people realize that “the screen turns on” doesn’t necessarily mean “everything works perfectly.” What really determines the experience is whether the setup steps are clear, the settings are correct, and the system runs smoothly. A hassle-free setup means you won’t need to keep adjusting parameters later, and you’re less likely to run into issues like incorrect heating/cooling behavior, fan problems, or unstable indoor temperatures. If you want to get your 24V thermostat working properly in one go and enjoy long-term reliability, follow the five key steps below.
Double-Check Wiring Terminals to Prevent Hidden Issues
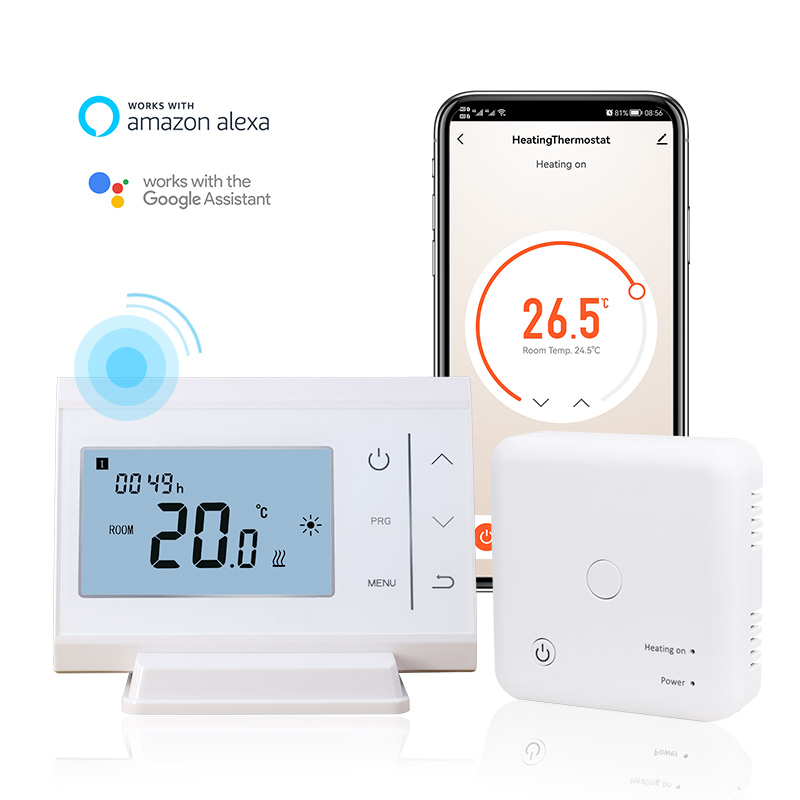
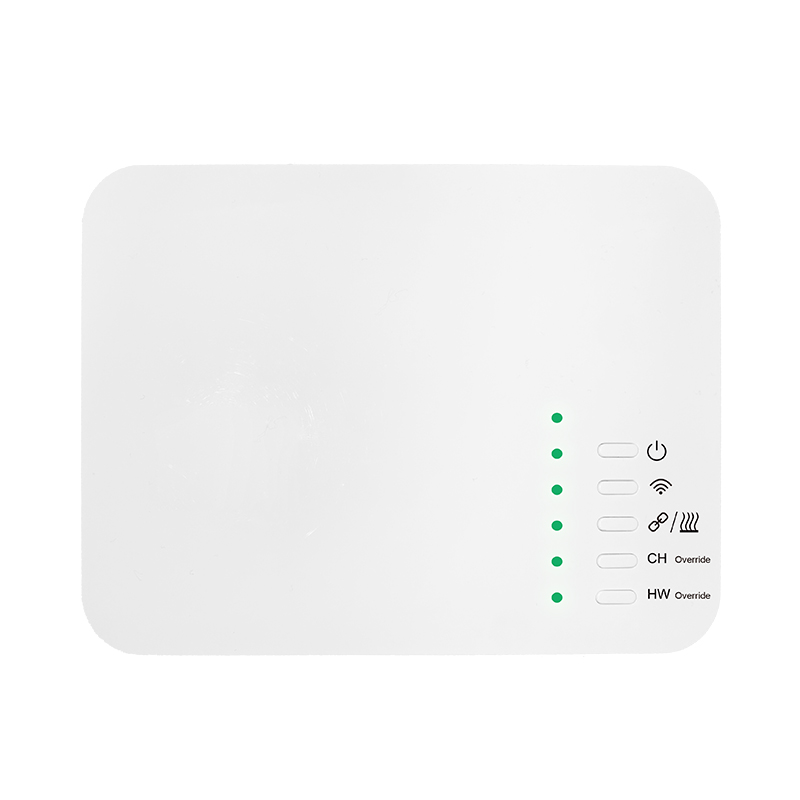
Before changing any settings, start by checking the wiring, because many “no matter how I adjust it, it still doesn’t work” situations are caused by loose or incorrect connections. Common 24V thermostat terminals include R, C, Y, W, and G. If the wire isn’t fully inserted, the screw isn’t tightened, or one wire is slightly loose, you may get intermittent problems—working at first, then acting strangely later. A simple, hassle-free approach is to remove the thermostat faceplate and confirm each wire is firmly secured, the copper isn’t exposed too much, and there’s no risk of shorting. Once wiring is solid, the troubleshooting process becomes much easier.
Select the Correct System Mode So Heating and Cooling Don’t “Reverse”
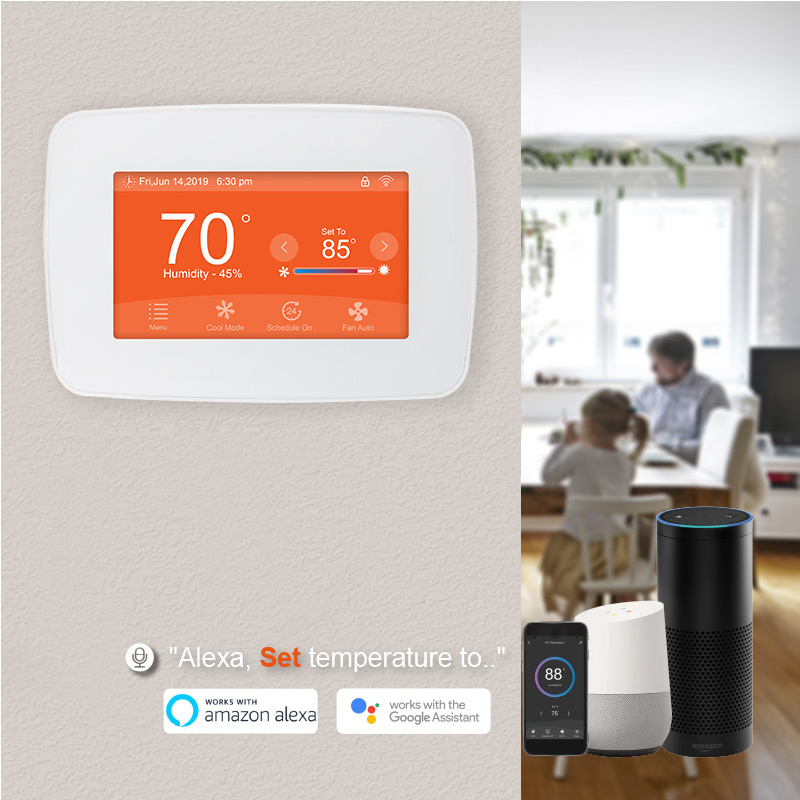
Most 24V thermostats require you to choose the HVAC system type or operating mode, such as cooling-only, heating-only, or heat pump. If the mode is wrong, common symptoms include warm air during cooling, cold air during heating, or strange system behavior. To keep things simple, avoid using Auto mode at first. Test cooling and heating separately: switch to Cool mode and set the temperature 2–3°C lower than room temperature to check if the system starts and the air becomes cooler. Then switch to Heat mode and set it 2–3°C higher to confirm the system responds and warms up properly. This method is clearer and helps you identify whether the issue is settings or system response.
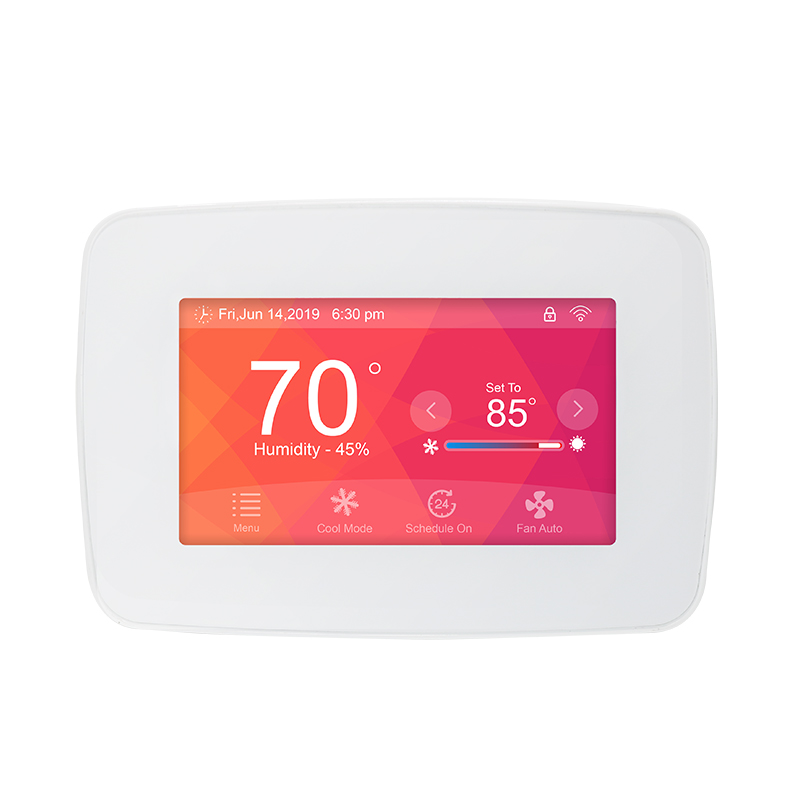
Keep Fan Settings Simple—Auto Is Best for Everyday Convenience
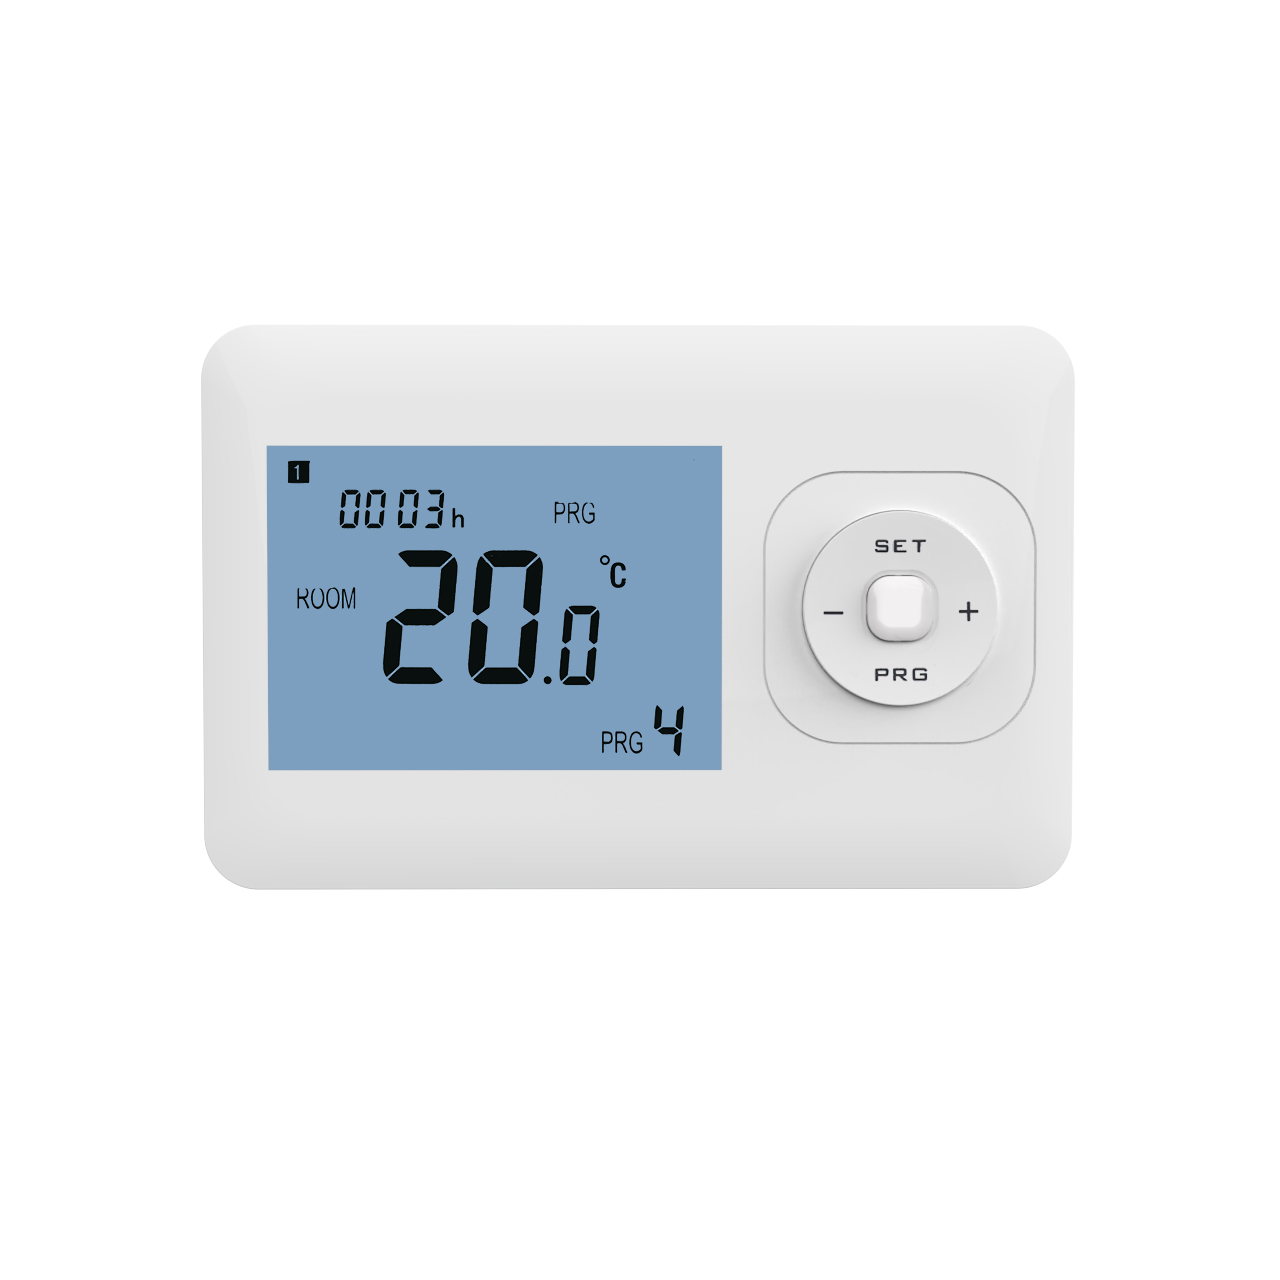
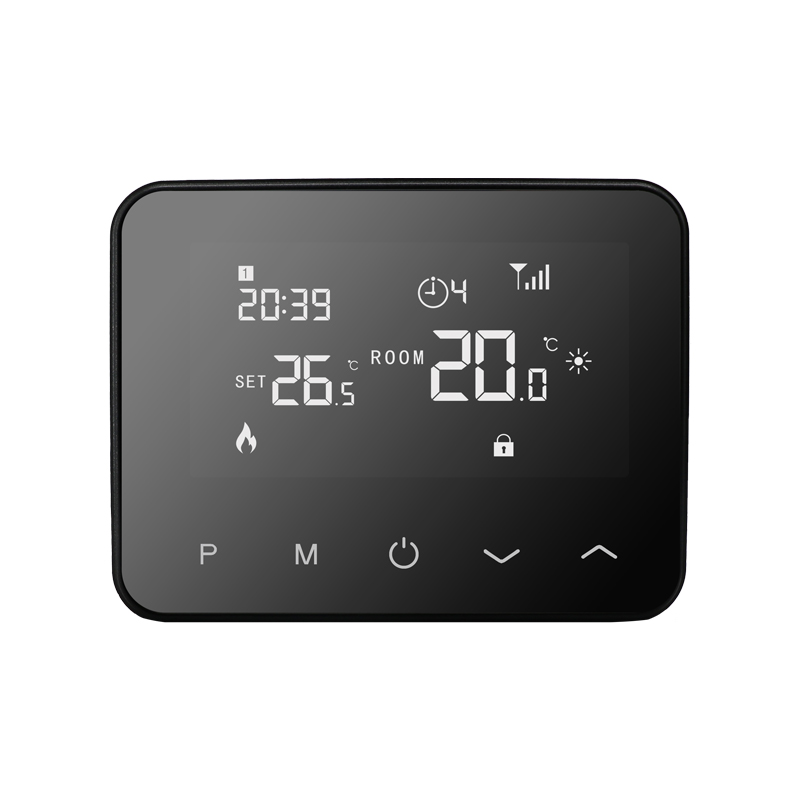
Fan settings are often overlooked, but they directly affect noise, comfort, and energy use. Most 24V thermostats offer Auto and On fan options. Auto means the fan runs only when heating or cooling is active, while On means the fan runs continuously. For the most hassle-free and energy-friendly setup, Auto is usually the best choice. It prevents the fan from running when the system stops and reduces the chance of “why won’t the fan turn off?” problems. If the fan keeps running after the system shuts down, check whether On mode is selected and confirm the G wire is correctly connected.
Adjust Temperature Calibration and Cycling Behavior to Avoid Hot-and-Cold Swings
Thermostat placement affects temperature readings. Being near a sunny window, close to an air vent, or mounted on a warm wall can cause the displayed temperature to differ from how the room actually feels. For a smoother experience, let the system run for about 30 minutes, compare the thermostat reading with a room thermometer, and apply temperature calibration if needed. Another key factor is cycling frequency. If the HVAC system turns on and off too often, the temperature may feel unstable and the equipment may work harder than necessary. A more stable cycling behavior usually improves comfort and makes daily use much easier.
Run a Full Function Test to Confirm Every Command Works
The final step is a full function check, so you can use the thermostat confidently. It doesn’t require complicated steps—just confirm the main functions one by one, especially within the first 24 hours after installation.
Recommended quick tests:
Cooling test: lower the set temperature and check if the system starts and air becomes cooler
Heating test: raise the set temperature and confirm the system responds with warm air
Fan test: switch between Auto and On and confirm airflow behavior matches expectations
Once these tests pass, it usually means the thermostat signals and HVAC responses are working properly, and you can simply adjust temperature normally from then on.
Conclusion
For the most hassle-free troubleshooting after installing a 24V thermostat, the key is following the right order: check wiring first, then choose the correct system mode, keep fan settings simple, fine-tune temperature accuracy and cycling behavior, and finish with a full function test. By completing these five steps, most households can achieve a stable, reliable thermostat setup without constant readjustments, making everyday heating and cooling smoother, more comfortable, and far less stressful.