
The thermostat is one of the core components of an electric floor heating system. It not only controls indoor temperature but also affects energy efficiency and the system’s lifespan. For DIY enthusiasts, installing a thermostat themselves can save labor costs and provide better control over the home heating system. This article shares practical experience on installing an electric floor heating thermostat, from preparation to adjustment, to help homeowners complete the installation smoothly.

Preparation Before Installation
Proper preparation is essential before starting the installation:
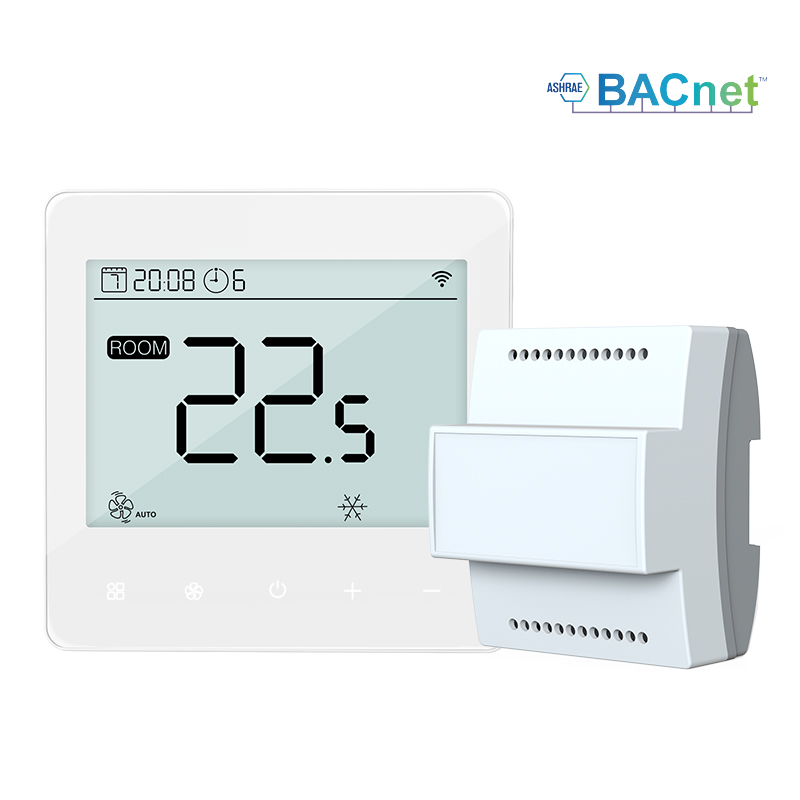
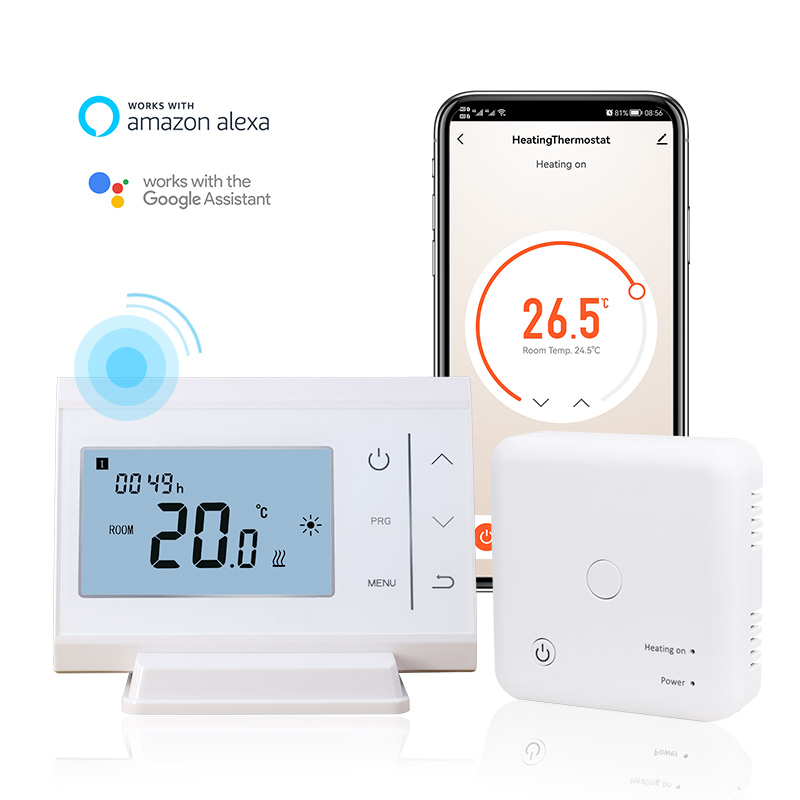
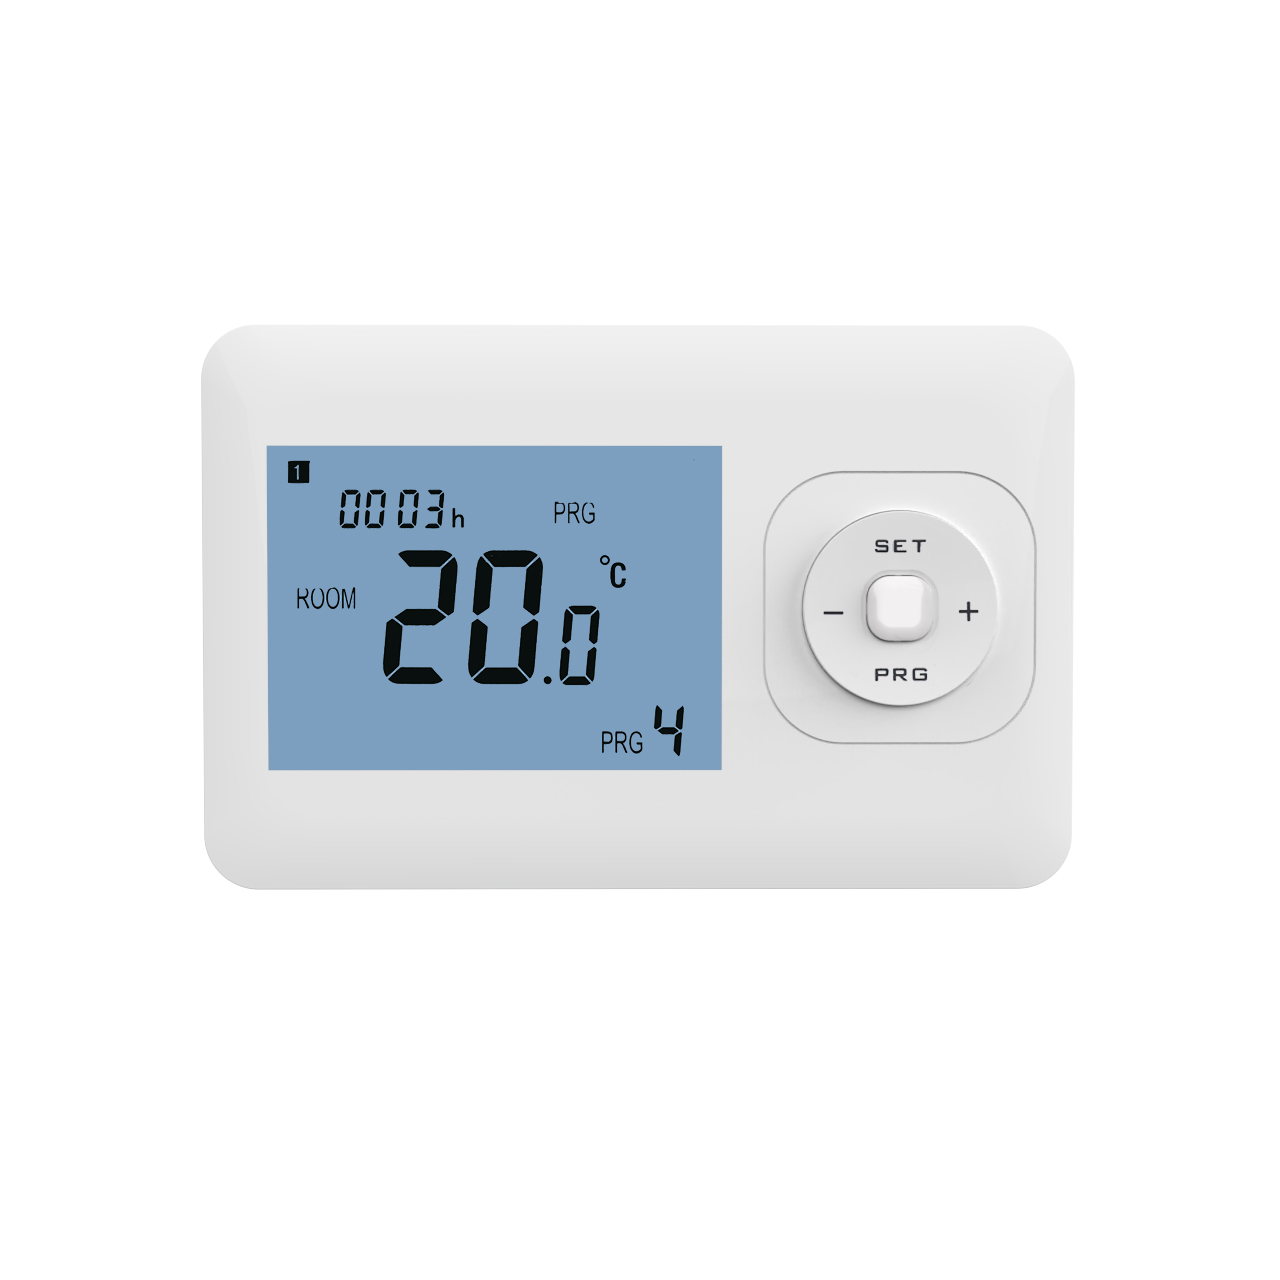
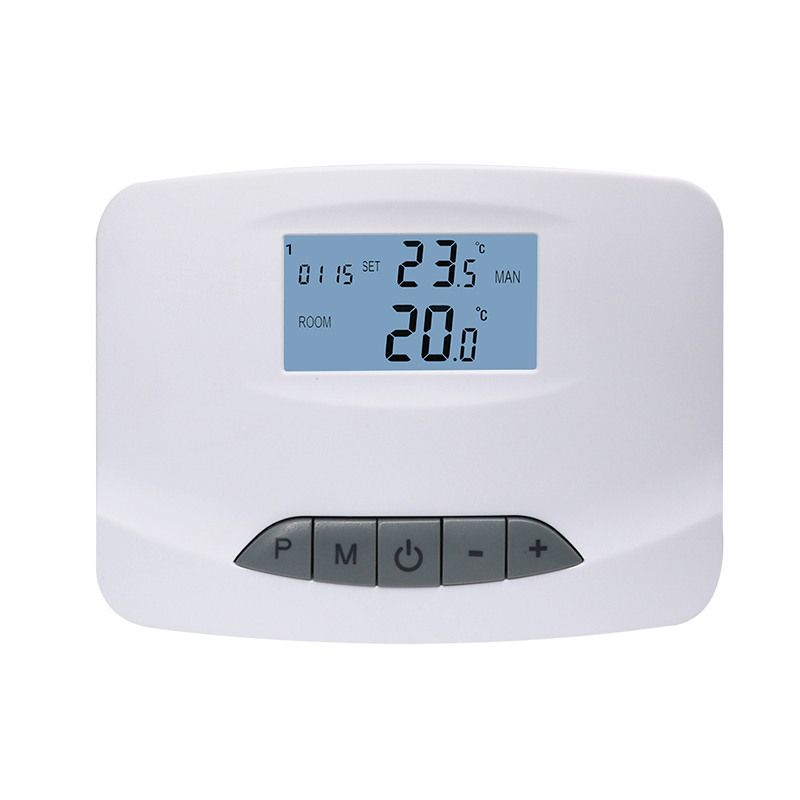
Understand Device Specifications: Confirm the thermostat model, rated voltage, and compatible floor heating type to avoid selecting the wrong device.
Read the User Manual: Familiarize yourself with wiring instructions, installation requirements, and function settings.
Prepare Tools: Common tools include screwdrivers, electrical tape, a multimeter, pencil, and electric drill, ensuring smooth installation.
Power Off: Always turn off the power before installation to prevent electric shock or equipment damage.
Good preparation helps avoid accidents and unnecessary rework.
Choose a Suitable Installation Location
The location of the thermostat affects both temperature accuracy and ease of use:
Keep Away from Heat Sources and Direct Sunlight: Avoid placing it near stoves, windows with direct sunlight, or heating radiators, which can cause inaccurate readings.
Proper Height: Install the thermostat approximately 1.2 meters (4 feet) above the floor for convenient operation and accurate temperature sensing.
Avoid High Humidity Areas: Keep it away from bathrooms, kitchens, or other humid zones to prevent damage.
Choosing the right location ensures the thermostat maintains comfort and accuracy.
Wiring and Mounting
Wiring is a critical part of DIY installation and should be done carefully:
Verify Wiring: Identify power, load, and sensor terminals according to the manual to avoid incorrect connections.
Secure the Thermostat Base: Use screws to firmly attach the base to the wall, keeping it level and stable.
Connect the Sensors: Ensure floor or room temperature sensors are securely connected to avoid poor contact.
Insulate Wires: Use electrical tape or terminal covers to protect wires and prevent short circuits.
After wiring, double-check for loose connections or exposed wires before powering on.
Power-On Test and Adjustment
After installation, the thermostat needs testing and adjustment:
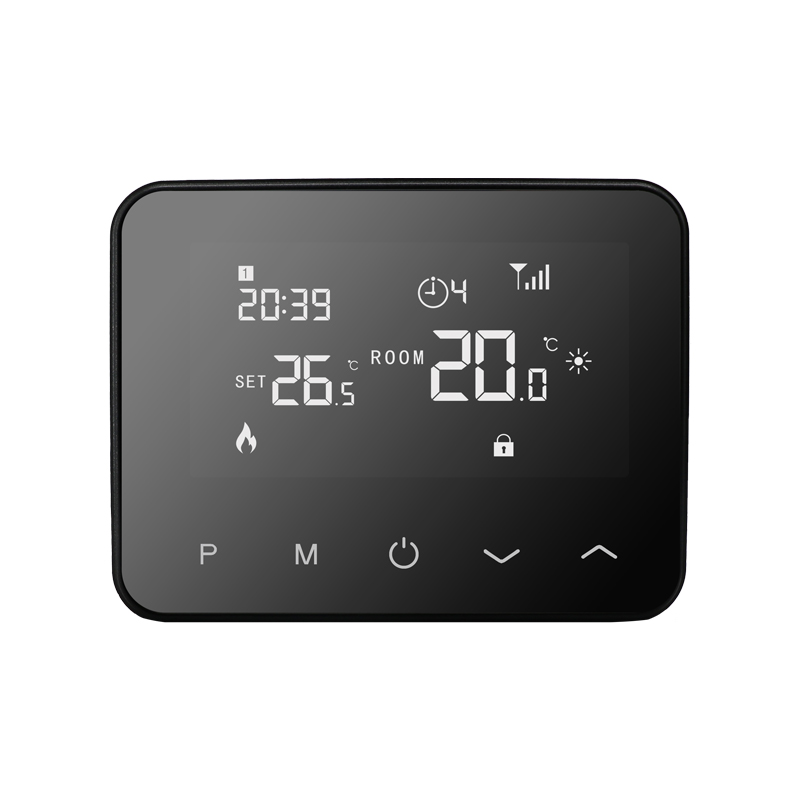
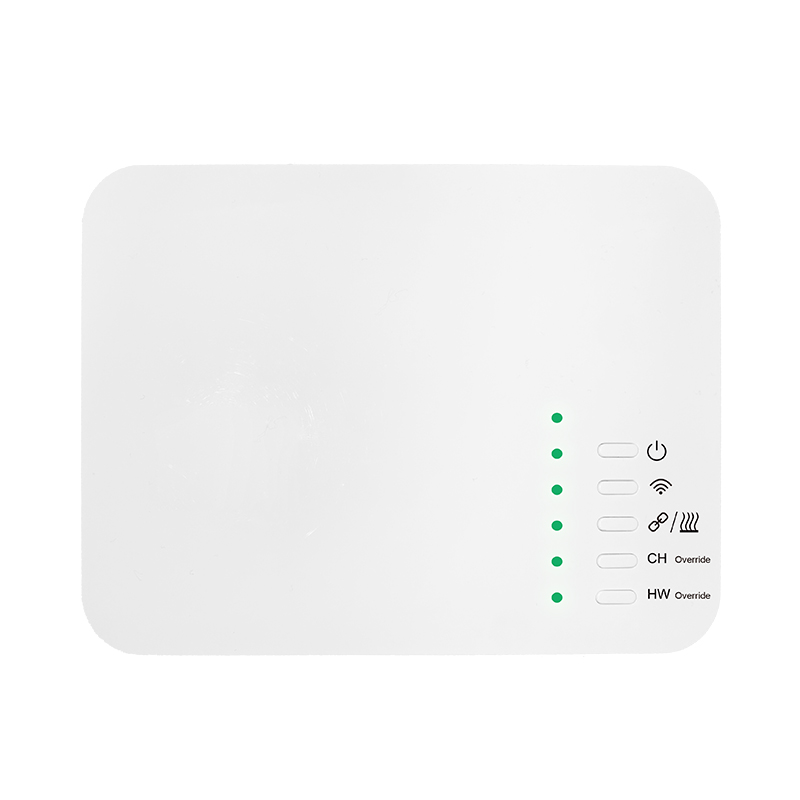
Initial Power-On: Turn on the power and check if the display works normally and indicator lights function correctly.
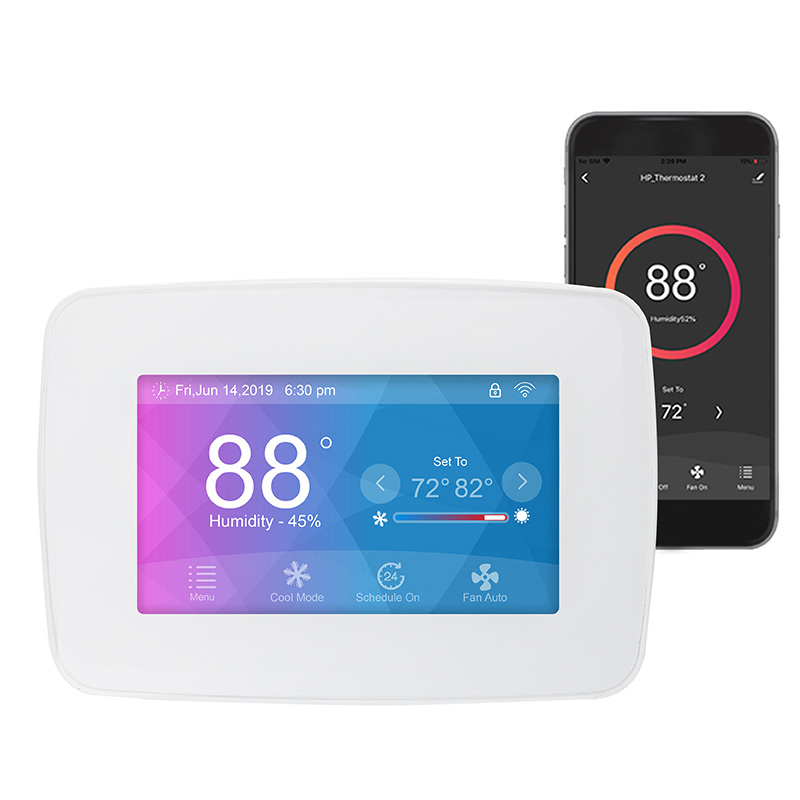
Function Test: Adjust the set temperature and see if the floor heating system responds. Test timer and energy-saving functions to ensure proper operation.
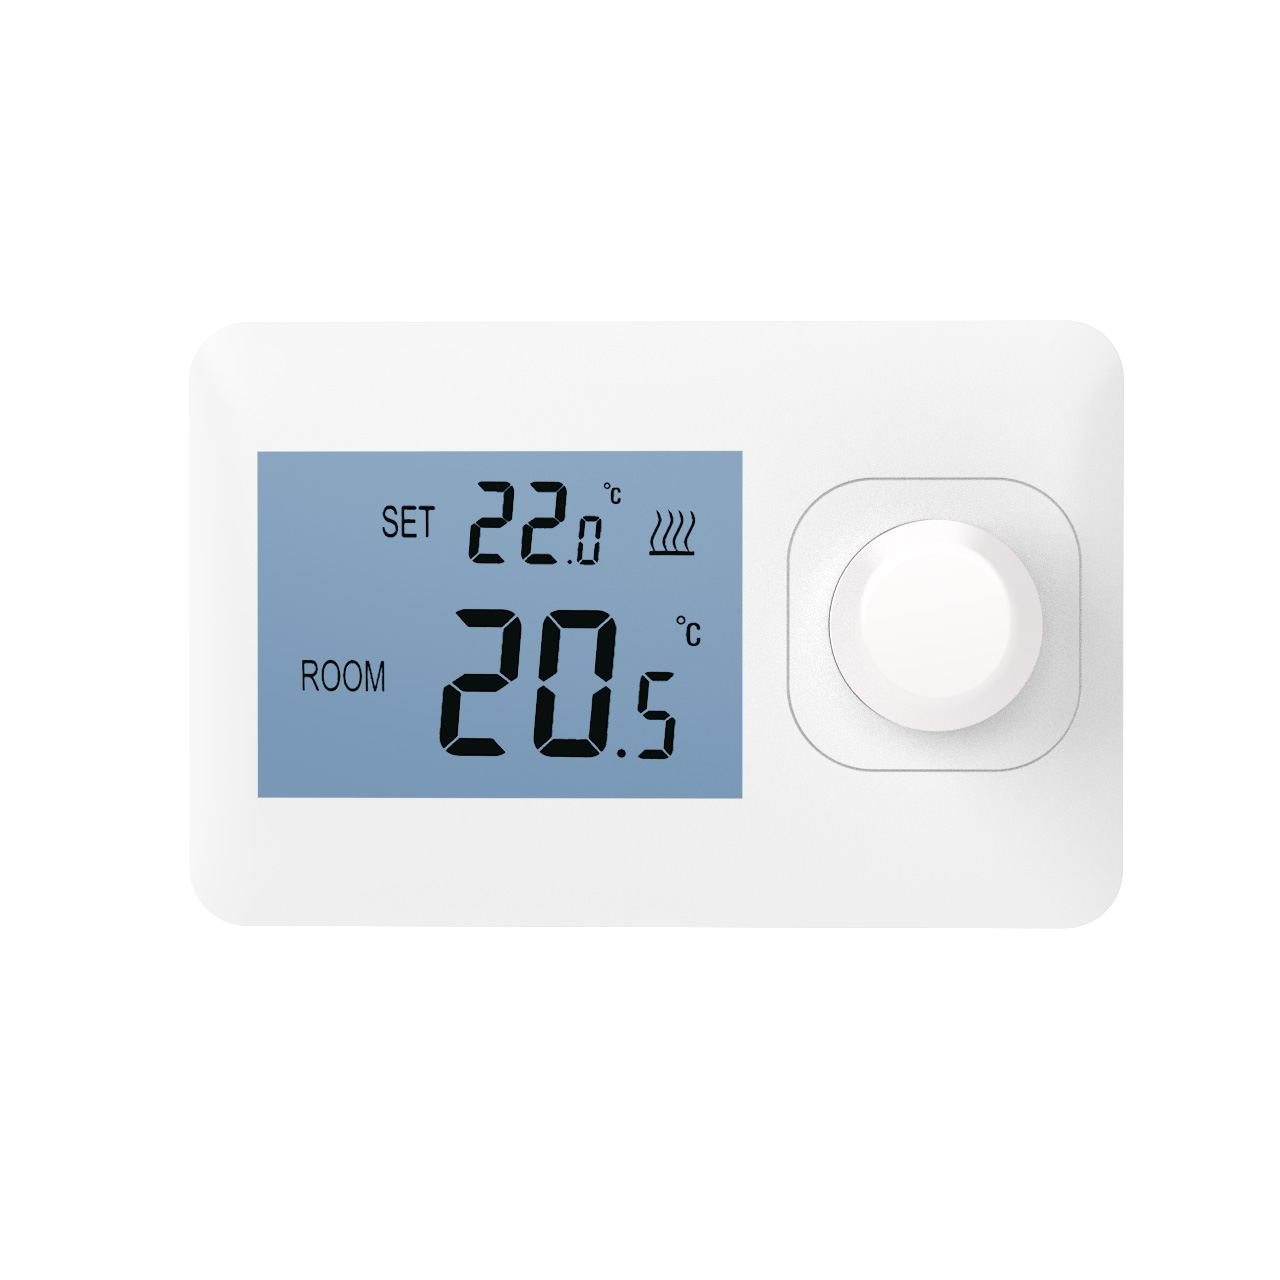
Temperature Calibration: Fine-tune settings based on indoor temperature feedback for accurate sensing and comfortable heating.
Once tested and adjusted, the thermostat is ready for normal operation.
DIY Installation Tips
From multiple installation experiences, the following tips are recommended:
Leave Space for Wiring: Ensure enough space in the junction box and base for future maintenance or replacement.
Label Wires: Mark different wires to prevent confusion.
Prioritize Safety: Keep the power off throughout the process and avoid touching metal wire ends.
Record Settings: Document thermostat settings for future reference and adjustments.
Following these tips ensures a safe and efficient DIY installation.
Conclusion
DIY installation of an electric floor heating thermostat not only saves costs but also helps homeowners understand how their heating system works. Through careful preparation, proper location selection, precise wiring, and detailed adjustment, even non-professionals can complete a high-quality installation. Mastering these DIY experiences ensures the thermostat operates reliably, enhances indoor comfort, and maximizes the energy-saving benefits of the floor heating system.