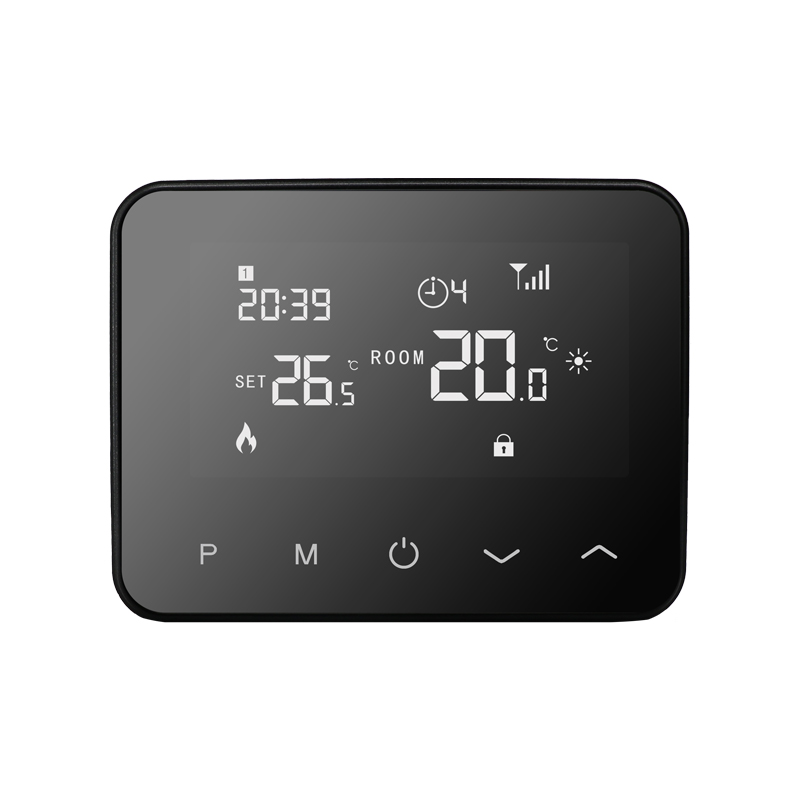
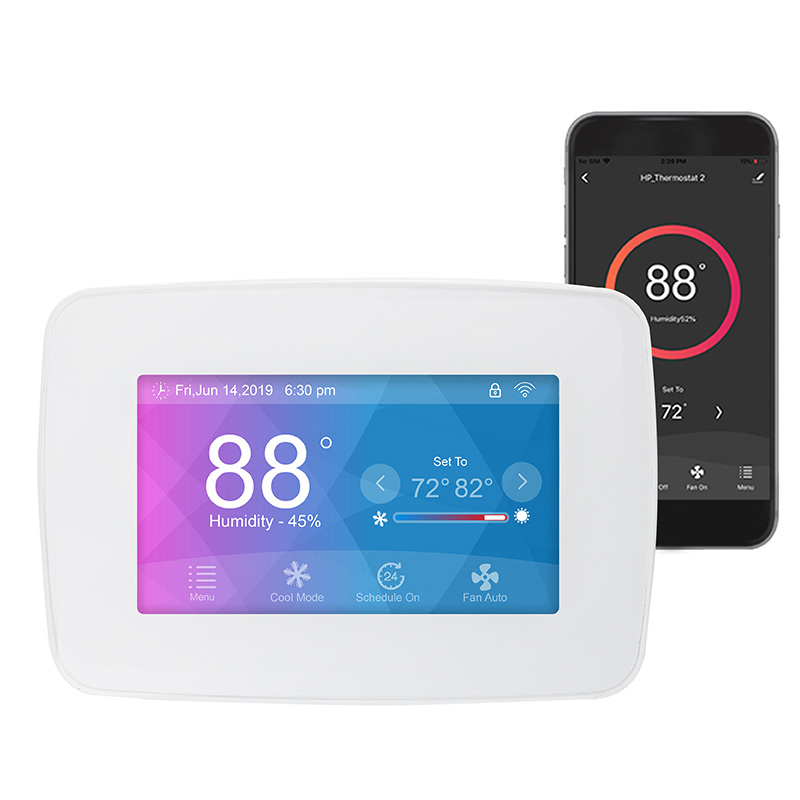
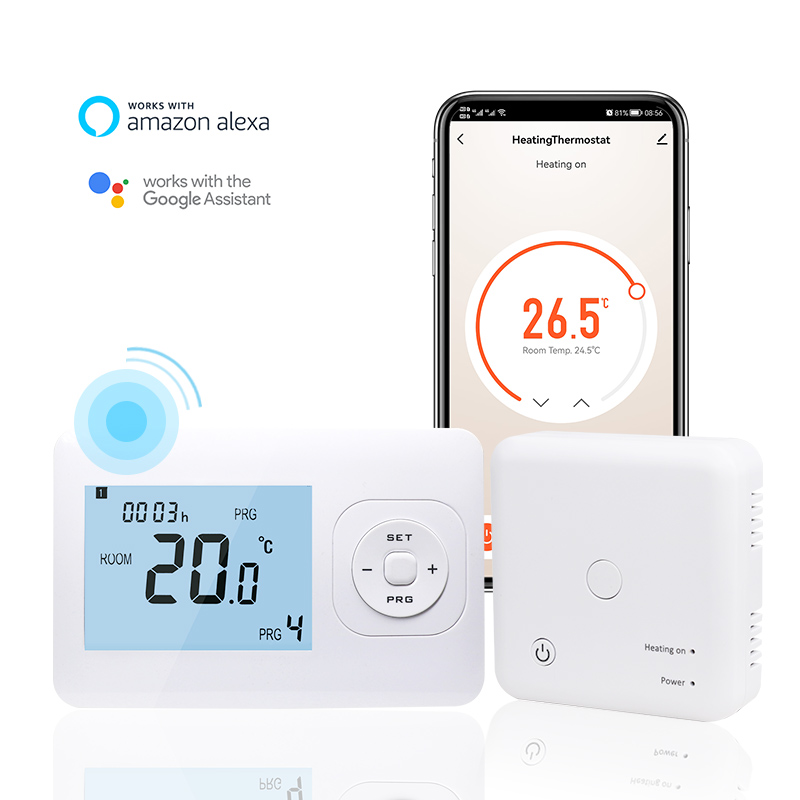

With the rise of smart home technology, wireless electric floor heating thermostats have become increasingly popular due to their easy installation, flexible use, and remote control capabilities. Proper installation ensures the system operates correctly while enhancing heating comfort and energy efficiency. This guide provides step-by-step instructions for installing a wireless electric floor heating thermostat, from preparation to final testing, helping users complete the installation safely and effectively.
Preparation Before Installation
Before installing a wireless thermostat, complete the following preparations:
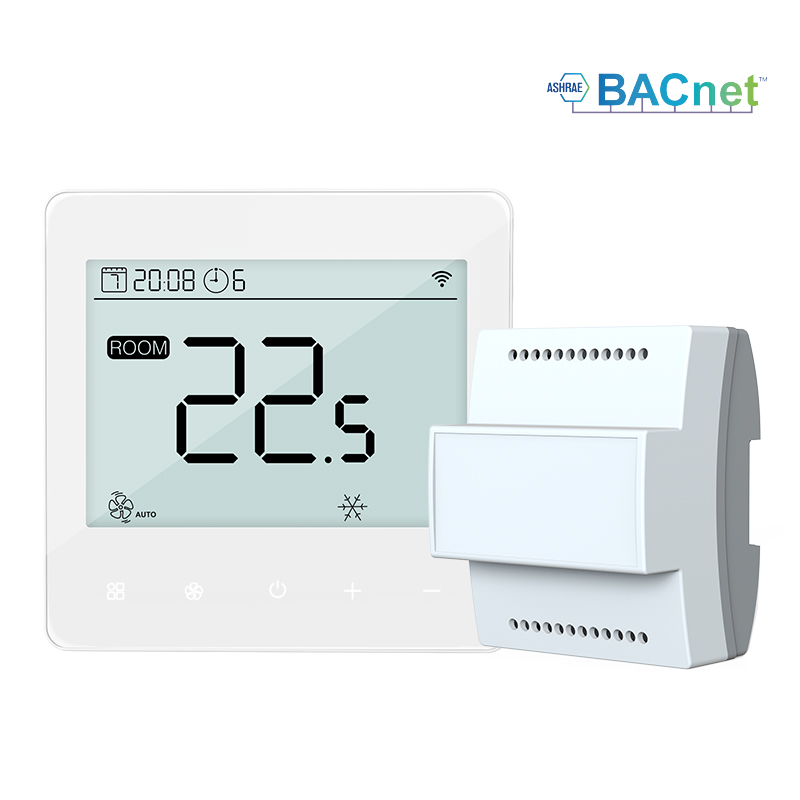
Understand the system type: Confirm your home’s electric floor heating system type, voltage, and power requirements.
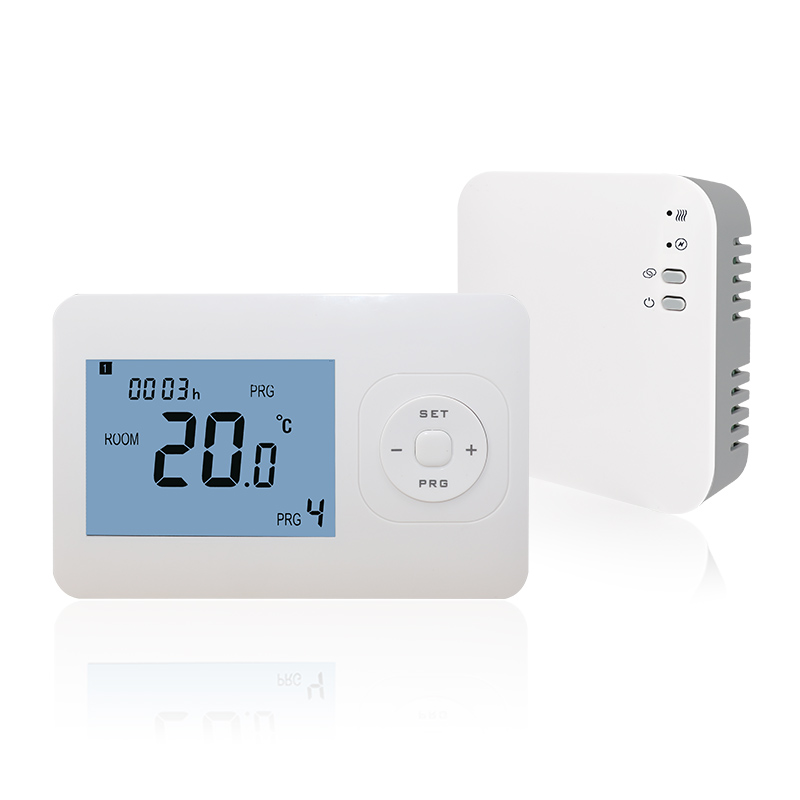
Check the accessories: Ensure the thermostat main unit, sensor, mounting base, power cables, and screws are all available.
Select the installation location: Follow installation guidelines, placing the thermostat about 1.2 meters (4 feet) above the floor, away from direct sunlight and electrical interference.
Power off: Always cut off the power before installation to prevent electric shock or device damage.
Mounting the Base
Mark the mounting points: Use a pencil to mark the drilling locations on the wall.
Drill holes and insert anchors: Drill holes according to the base’s mounting points and insert wall anchors.
Fix the base: Align the base with the anchors and secure it with screws, ensuring it is level and stable.
Wiring and Sensor Installation
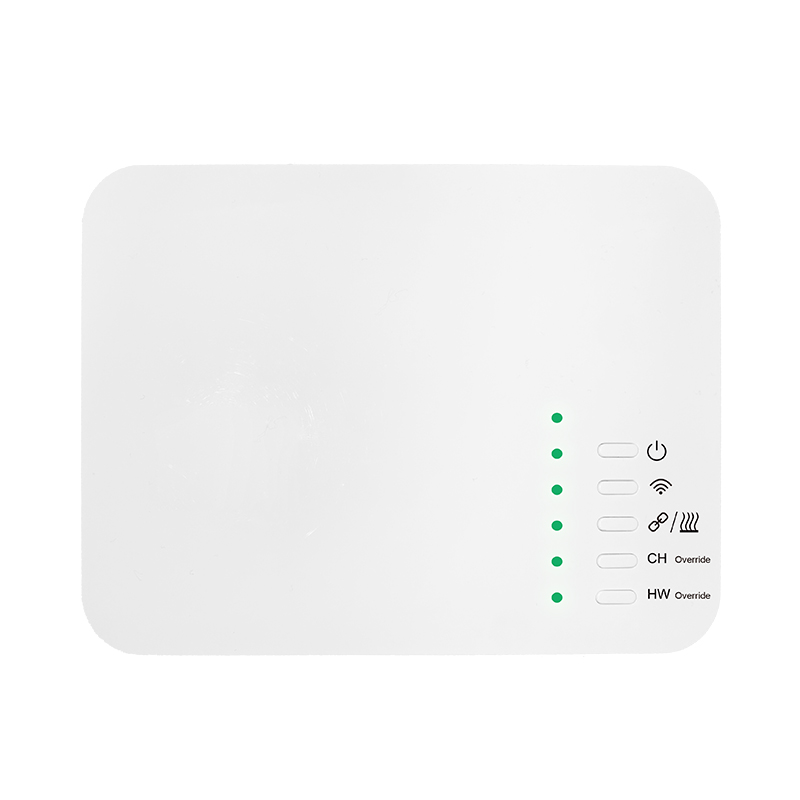
Power wiring: Connect the power cable to the thermostat terminals according to the manual, paying attention to positive/negative and live/neutral wires.
Load wiring: Connect the electric floor heating system cables to the thermostat output terminals, following the correct sequence in the manual.
Sensor placement: Install the wireless temperature sensor in an area with good air circulation, away from heat sources or direct sunlight, to ensure accurate temperature readings.
Installing and Securing the Thermostat
Attach the thermostat main unit to the mounted base by gently pressing it into place until the clips lock securely. After installation, restore power and check if the thermostat powers on correctly.
System Testing and Calibration
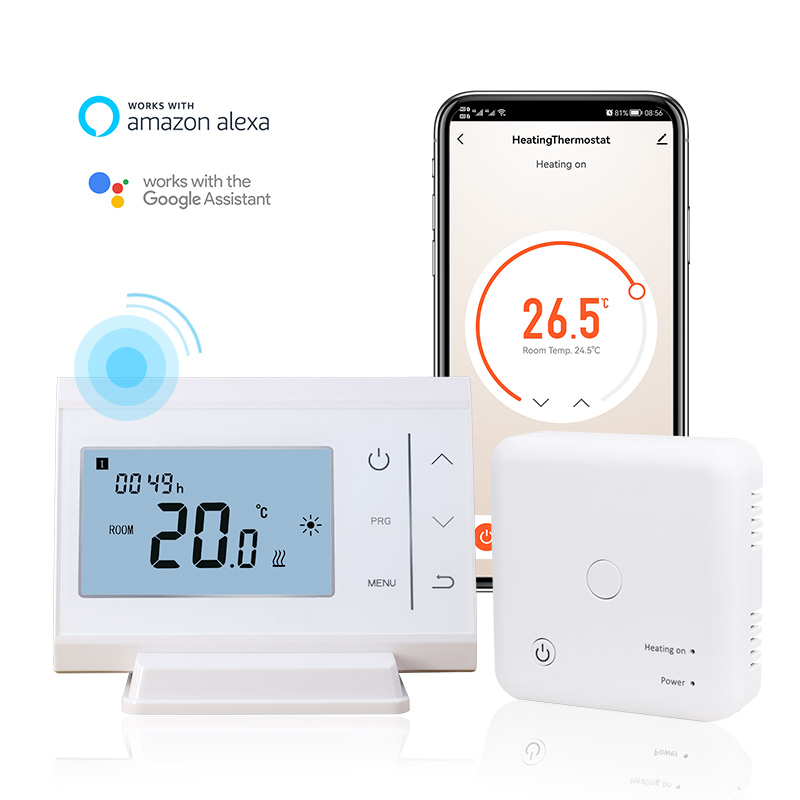
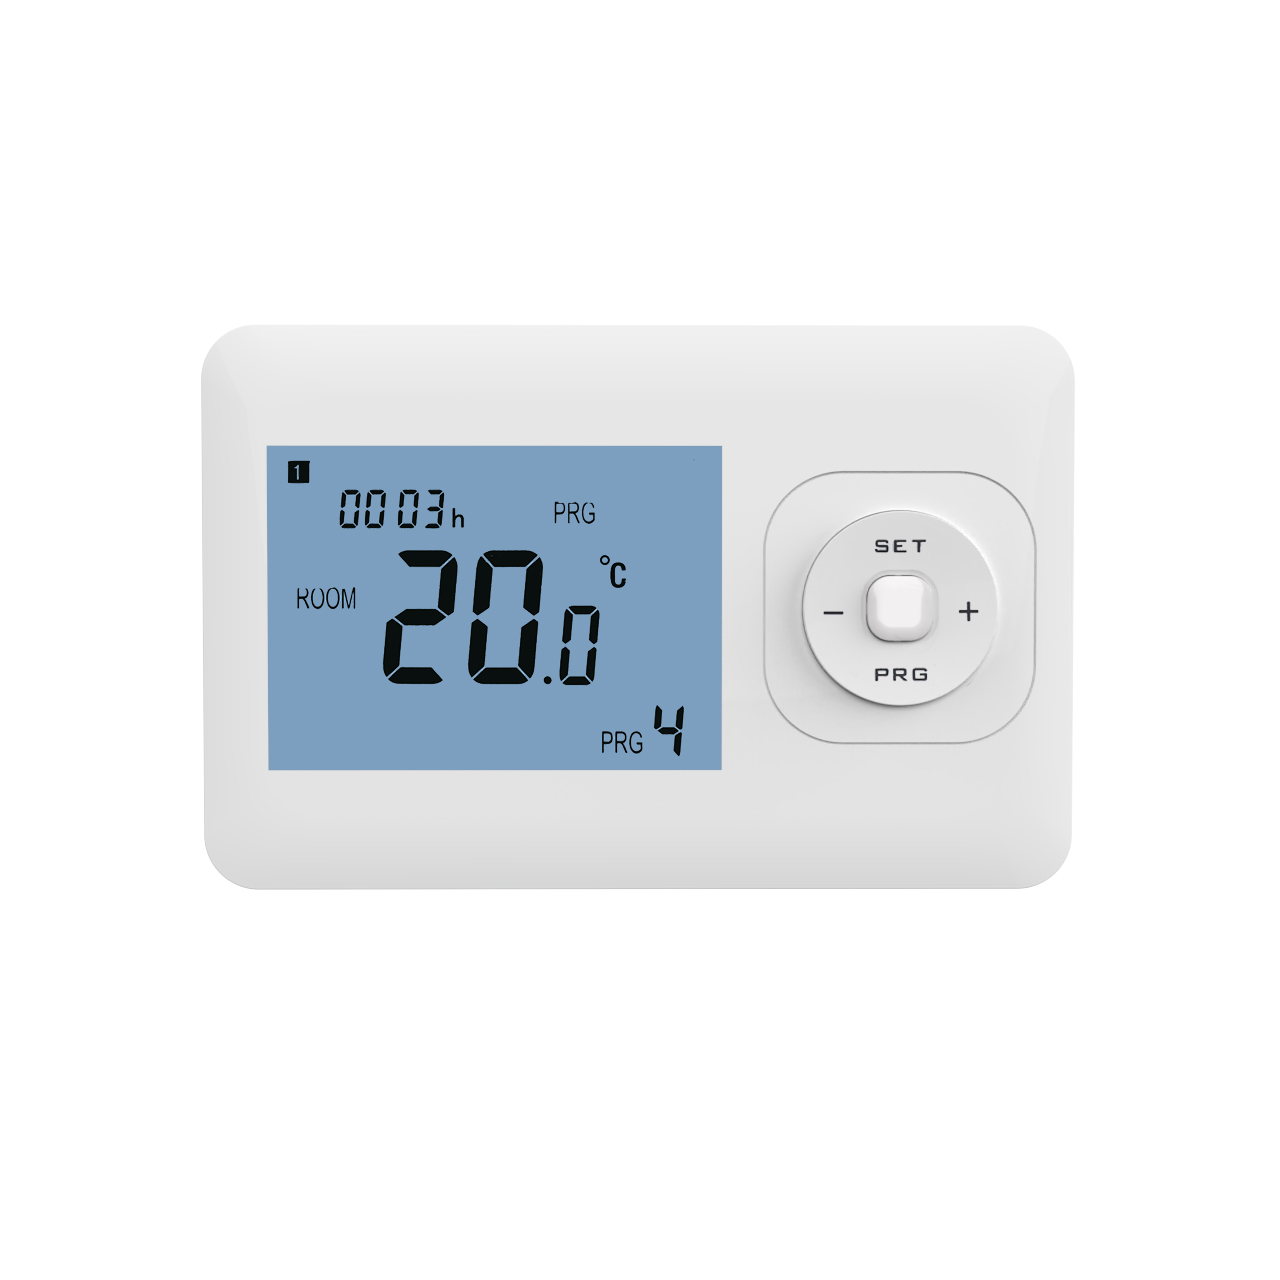
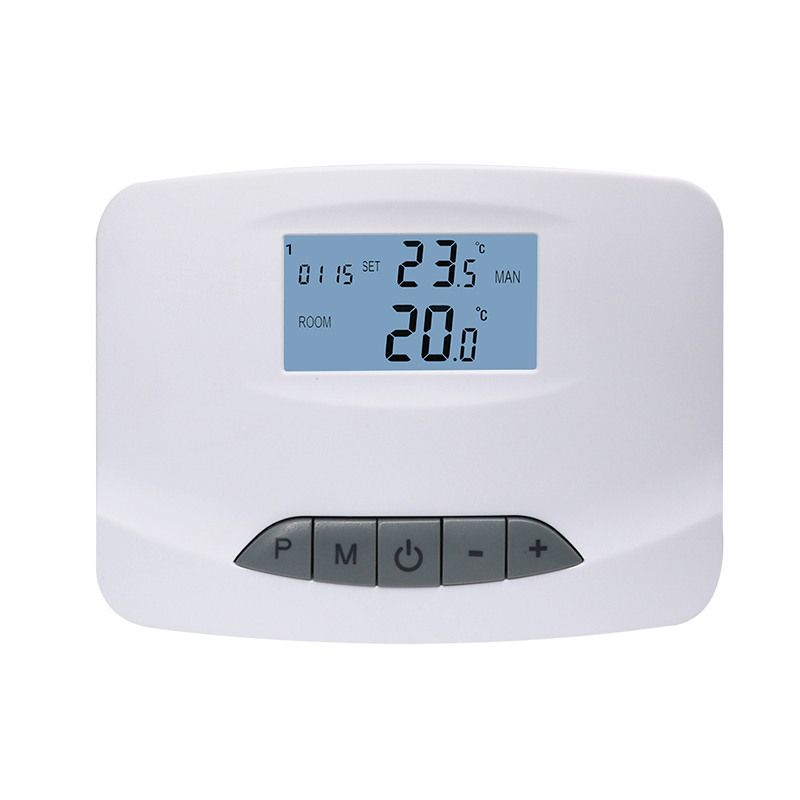
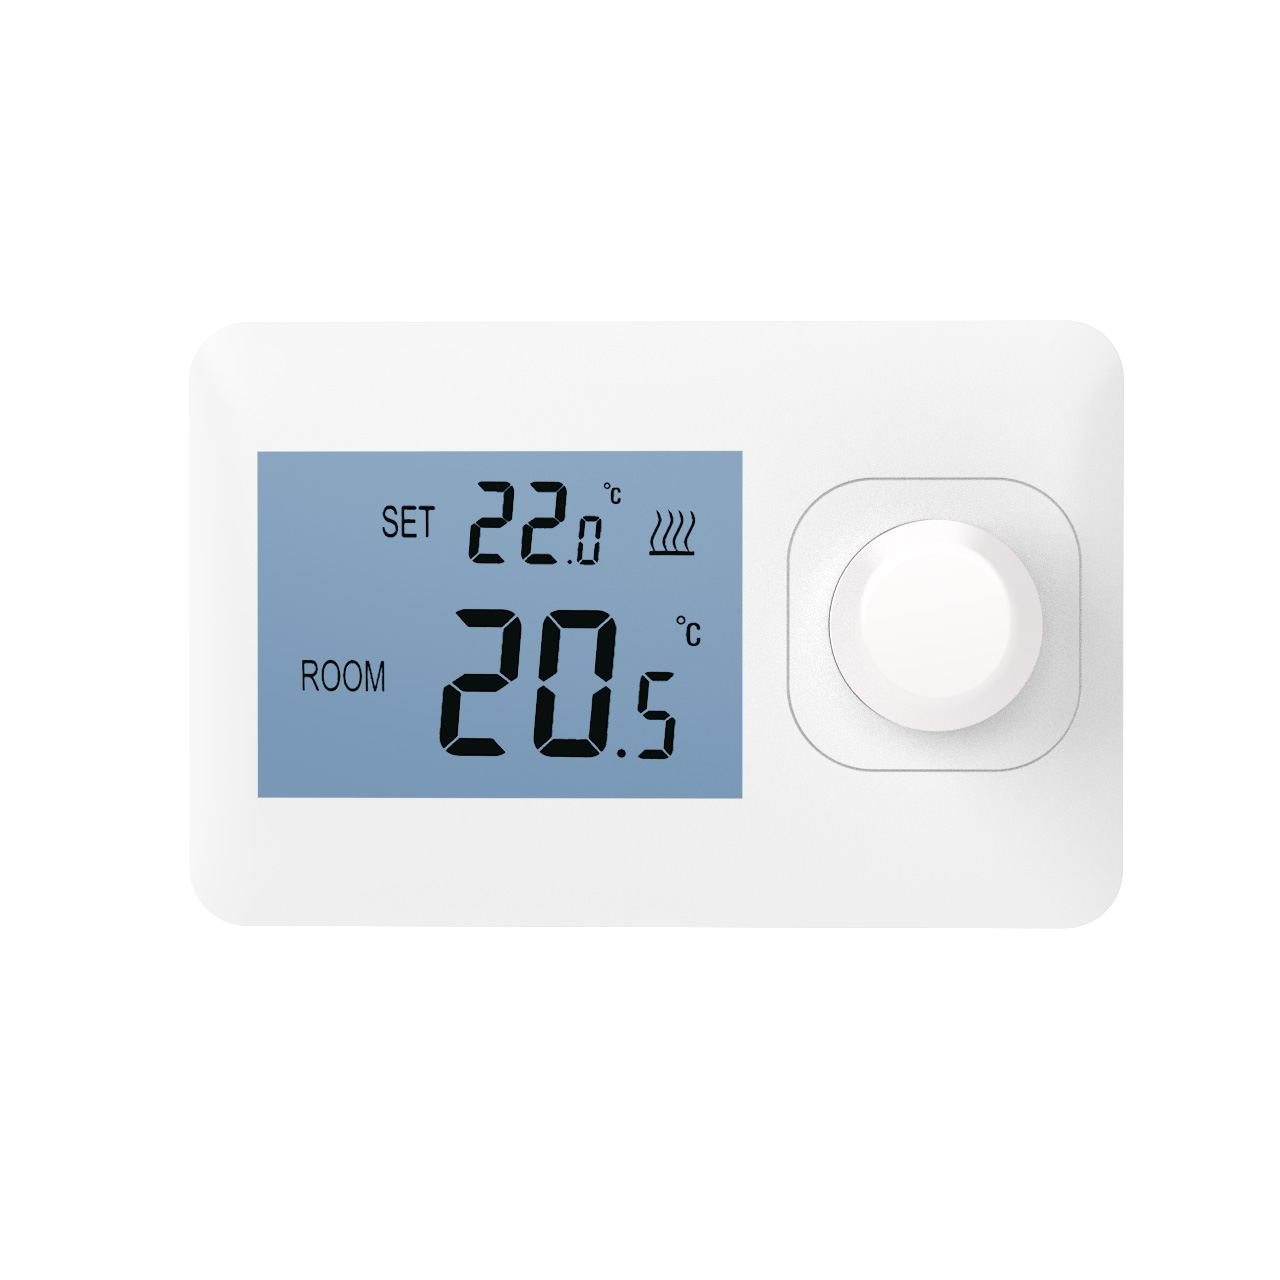
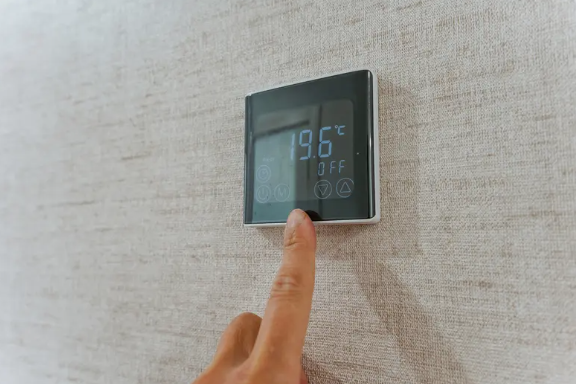
Basic settings: Set the operating mode according to the manual, such as constant temperature, timer, or remote control mode.
Temperature calibration: Verify room temperature readings from the sensor to ensure thermostat accuracy and system responsiveness.
Function testing: Test on/off control, timer settings, and wireless connectivity to ensure all features work properly.
Safety check: Inspect terminals, screws, and the casing to confirm everything is secure and safe.
Daily Use and Maintenance
After installation, users should:
Keep the thermostat dry and unobstructed for proper heat dissipation.
Periodically check the sensor and main unit batteries (if applicable) to ensure remote control functionality.
Immediately turn off power and contact professional technicians if any abnormal display or system alert occurs.
Conclusion
Wireless electric floor heating thermostats offer flexible installation and convenient remote control, making them an ideal upgrade for modern home heating. By following proper installation steps—including preparation, base mounting, wiring and sensor placement, main unit installation, and system testing—users can ensure proper operation, achieve comfortable and efficient heating, and maximize energy savings. Mastering the correct installation method is key to prolonging device life and ensuring safe home energy use.