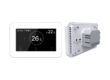
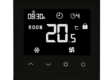
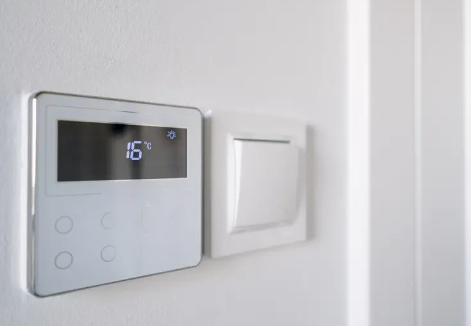
Electric floor heating thermostats not only allow users to adjust indoor temperatures but also provide temperature curve settings to achieve comfortable heating throughout the day. Properly configuring the temperature curve can enhance living comfort, save energy, and extend the lifespan of the heating system. This article explains the concept of temperature curves, step-by-step setup methods, and practical tips to help users maximize the potential of their electric floor heating systems.
What Is a Temperature Curve?
A temperature curve is a control mode where the thermostat automatically adjusts indoor temperature based on specific time periods. Unlike a fixed temperature setting, the temperature curve can adapt to household routines, weather changes, and energy efficiency goals. For example, the temperature can automatically increase in the morning, lower during the day when no one is home, and reduce at night for sleeping. Using a temperature curve allows the thermostat to manage the heating system more intelligently, achieving both comfort and energy savings.
Steps to Set Temperature Curves on an Electric Floor Heating Thermostat
1. Choose a Scheduling Mode
Most thermostats offer daily cycle mode, weekday/weekend mode, or custom mode. Users can select a mode based on their lifestyle. For households that wake early on weekdays and later on weekends, separate temperature curves can be set for weekdays and weekends.
2. Set Time Periods and Target Temperatures
Divide the day into multiple time periods and set a target temperature for each. For example:
6:00–8:00 AM: 22°C (warm for waking up)
8:00–17:00: 18°C (energy-saving while away)
17:00–22:00: 22°C (comfortable for returning home)
22:00–6:00: 16°C (nighttime energy-saving)
Segmenting the day in this way ensures indoor temperatures meet different needs throughout the day and night.
3. Adjust the Temperature Curve Slope
Some advanced thermostats allow heating/cooling rate adjustments or slope settings. Users can set how quickly the temperature rises or falls according to the system’s response speed. This prevents abrupt changes, ensuring comfort while maintaining energy efficiency.
4. Save and Activate the Settings
After configuring the time periods and target temperatures, save the settings and ensure the temperature curve function is enabled. Regularly check and update the curve to accommodate seasonal changes or adjustments in household routines.
Practical Tips for Temperature Curve Settings
Adjust According to Daily Routine
Set temperature curves based on household members’ schedules so heating reaches optimal comfort when needed.
Balance Comfort and Energy Savings
Lower temperatures during unoccupied periods to reduce electricity consumption and extend system lifespan.
Consider Outdoor Weather
Some smart thermostats can reference outdoor temperature to dynamically adjust the indoor curve, improving energy efficiency.
Optimize Gradually
Refine the temperature curve gradually during initial setup to ensure optimal comfort rather than setting everything at once.
Conclusion
Temperature curves are a key feature of electric floor heating thermostats for achieving intelligent heating. By segmenting time periods, setting target temperatures, and adjusting heating rates, users can strike the ideal balance between comfort and energy efficiency. Mastering temperature curve settings not only enhances indoor living comfort but also reduces energy consumption and system load, making the most of the electric floor heating system. Effectively utilizing the thermostat’s temperature curve function is an essential step for every household seeking smart and efficient heating.