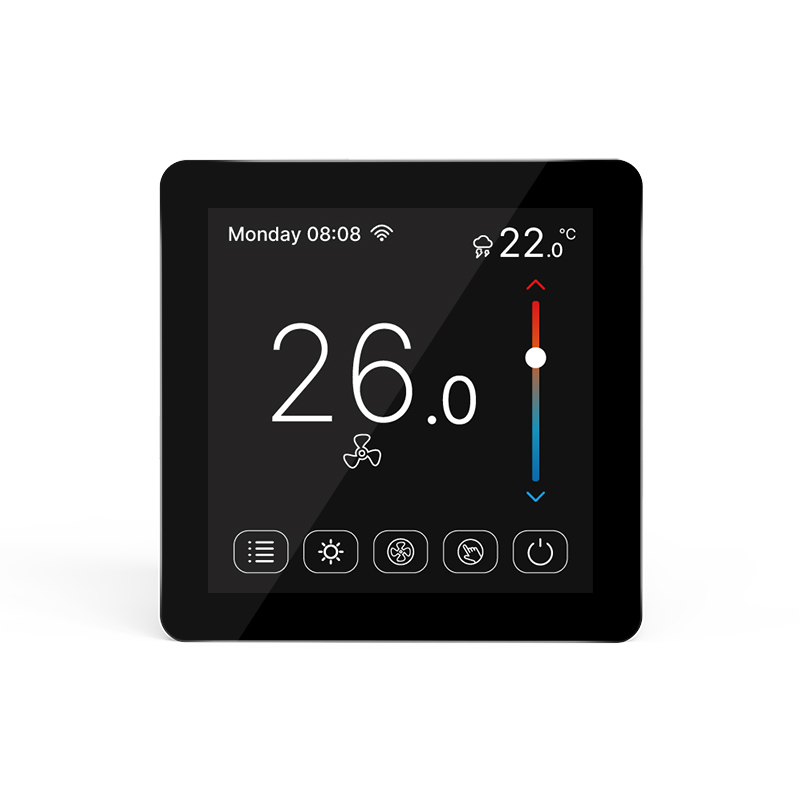

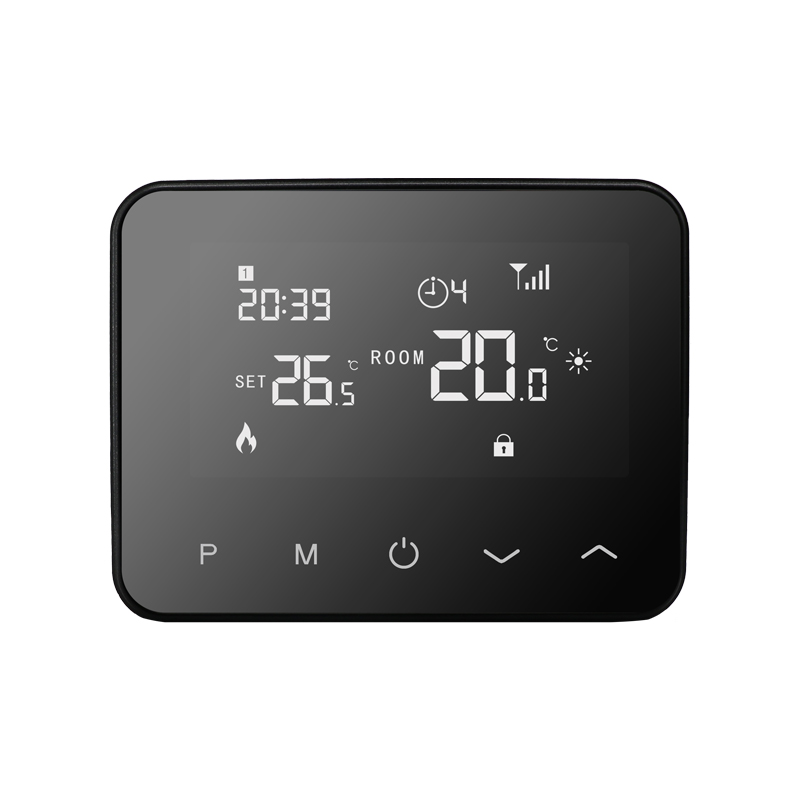


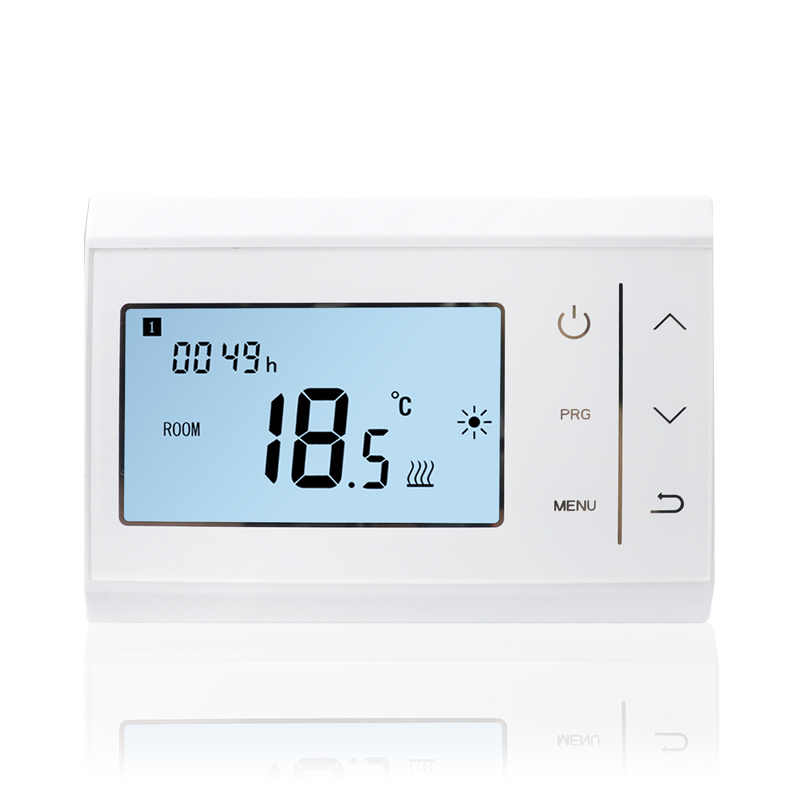
During winter heating season, many families face problems such as uneven heating temperatures and significant energy waste. The emergence of thermostatic radiator valves offers an effective solution to these problems. They automatically adjust the hot water flow based on indoor temperature, achieving precise temperature control, improving comfort and saving costs. However, for many users, correctly installing a thermostatic radiator valve is a challenge. Mastering the correct installation method is essential to ensure the thermostatic valve functions optimally and brings tangible benefits to home heating.
Pre-installation Preparation: Meticulous Preparation Ensures Success
Before installing a thermostatic radiator valve, thorough preparation is crucial. First, select a suitable thermostatic valve based on the model and specifications of your radiators. Different types of radiators, such as steel and copper-aluminum composite radiators, have different requirements for the valve’s interface size and pressure rating. Only by selecting a matching product can you ensure smooth installation and safe use.
Tool preparation is also indispensable. Wrenches, pipe wrenches, and Teflon tape are needed during installation. A wrench is used to tighten or loosen pipe joints, while pipe wrenches are used to better secure radiators or pipes, preventing loosening during thermostatic valve installation. Teflon tape is used to seal joints and prevent hot water leakage; when using it, pay attention to the direction and number of turns, generally 3-5 turns clockwise is appropriate.
Additionally, before installation, close the main valve of the heating system and drain the hot water from the radiators to avoid scalding during installation. At the same time, check the radiators and surrounding pipes for damage, rust, etc., and address any issues promptly to create favorable conditions for thermostatic valve installation.
Installation Process: Standardized Operation, Ensuring Installation Quality
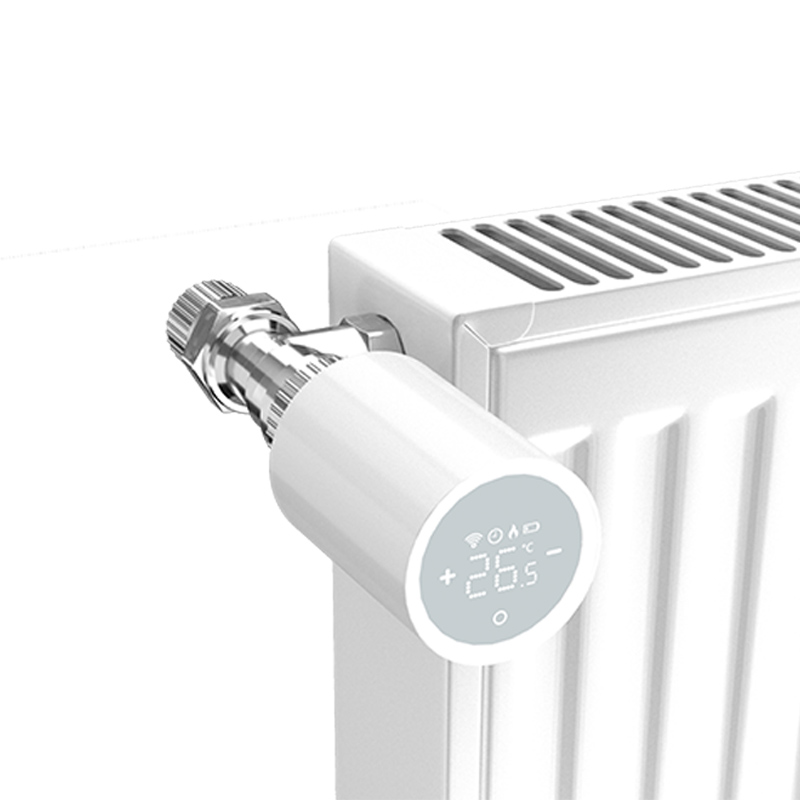
When installing a thermostatic valve for radiators, first remove the existing radiator valve. Use appropriate tools, such as a wrench or pipe wrench, to apply force slowly and evenly, avoiding damage to the valve or pipe joints. After removing the old valve, clean any impurities and dirt from the joints, ensuring they are clean and smooth so that the new valve can be installed tightly.
Next, evenly wrap the PTFE tape around the threaded interface of the thermostatic valve, align it with the radiator interface, and slowly screw it in. During screwing, ensure the valve is vertical to avoid misalignment and poor sealing. When the valve is near the bottom of the interface, tighten it appropriately with a wrench or pipe wrench, but do not overtighten to avoid damaging the threads or the valve.
After installation, open the main valve of the heating system and slowly open the radiator’s air vent valve to release air from the system until a steady flow of hot water is observed. This step is crucial; air in the system will affect hot water circulation, causing the thermostatic valve to malfunction or even damage it. After venting, check all interfaces for leaks and address any issues promptly to ensure installation quality.
Post-Installation Adjustment: Precise Adjustment for Optimal Performance
After installing the thermostatic valve, it needs to be adjusted to accurately regulate the hot water flow based on the indoor temperature. Set the thermostatic valve temperature within a suitable range; generally, a comfortable indoor temperature in winter is between 18-22℃. After setting the temperature, observe the radiator’s heating performance. If the indoor temperature rises slowly or fails to reach the set temperature, the thermostatic valve’s adjustment range may be inappropriate, requiring adjustment of the valve opening.
During the commissioning process, the thermostatic valves for each radiator can be individually adjusted according to the usage needs and lighting conditions of different rooms. For example, the temperature setting can be lowered in sunny rooms, while it can be raised in shaded rooms to achieve a more even distribution of indoor temperature and improve overall heating efficiency.
Proper installation of the radiator thermostatic valve is key to maximizing its energy-saving and comfort functions. From careful preparation before installation to standardized operation during installation and meticulous commissioning after installation, every step affects the thermostatic valve’s performance. By following the correct installation and commissioning methods, the radiator thermostatic valve can become a powerful assistant in home heating, ensuring a warm and economical winter.